Discover Australian Military History
Australian Military History
Author: Warwick O'Neill
Subscribed: 147Played: 2,630Subscribe
Share
© Copyright Warwick O'Neill
Description
Foucssing on specific events, people and groups throughout the history of Australia at arms
Hosted on Acast. See acast.com/privacy for more information.
74 Episodes
Reverse
After the evacuation of Greece, New Zealand, British and Australian troops prepared to defend the airfields of Crete. The Australians concentrated on the central area of the island, with the 2/1st and 2/11th Battalions responsible for the defence of the airfield at Retimo. When German paratroopers began to fall from the sky on the 20th May 1941, it signaled the beginning of several days of hard, bitter fighting as the Allied forces attempted to deprive Germany of yet another conquest. https://historyguild.org/https://www.australianmilitaryhistorypodcast.com/patreon.com/user?u=46029761 Hosted on Acast. See acast.com/privacy for more information.
As the fighting at Pinios Gorge was reaching its peak, the majority of W Force moved back through Larissa heading for the next defensive position on the Thermopylae - Brallos Pass Line. Initially, this line was where the Allied Forces planned to halt the German advance through Greece, however the situation soon changed and the stand along this line was now responsible for delaying the German advance long enough for W Force to be evacuated from Greece. Fail and the entire force would be captured and any further attempt to stop the Germans in this theatre would be lost. https://historyguild.org/https://www.australianmilitaryhistorypodcast.com/https://www.patreon.com/user?u=46029761 Hosted on Acast. See acast.com/privacy for more information.
With the Germans pushing through the Metaxas Line, their invasion of Greece gained momentum as they pushed south. The British, Australian and New Zealand troops of W Force were falling back to their next defensive line, but with the Germans hot on their heels, a delaying action was needed. The junction town of Larisa was vital for the retiring troops and a German thrust on the eastern flank, aimed through Pinios Gorge, threatened the town and W Force's withdrawal. They had to be held for two days if the Allies were to have any chance. https://historyguild.org/the-battle-of-pinios-gorge-a-tough-fight-to-delay-the-german-advance/https://www.australianmilitaryhistorypodcast.com/patreon.com/user?u=46029761 Hosted on Acast. See acast.com/privacy for more information.
As the defence lawyer for Morant, Handcock and Whitton during the Boer War, the story of Major Thomas is often overshadowed by events of the Courts Marshall. As a prominent figure in the small rural town of Tenterfield, Thomas raised a contingent of mounted troops for service in South Africa and saw action on many battlefields, including The Siege of Elands River. The result of his service and the outcome of the Morant trial left Thomas a broken man, largely shunned by the community who once lauded him.https://www.australianmilitaryhistorypodcast.com/patreon.com/user?u=46029761 Hosted on Acast. See acast.com/privacy for more information.
With Hill 317 in the safe hands of 3RAR, all that remained was for the Royal Northumberland Fusiliers to take Hill 217 and 3RAR to take Sierra feature and The Hinge. The previous day's fighting had shown that Hill 217 would be a tough nut to crack and although the Fusiliers managed to seize the position, they were unable to hold onto it in the face of a massive Chinese counter-attack. The outcome of the battle would be determined by 3RAR. If successful, the entire Maryang San complex would be secured. Fail and the whole plan would need to be revised. The pressure was on Lt Col Hassett and his troops. https://www.australianmilitaryhistorypodcast.com/amhp.media@gmail.com Hosted on Acast. See acast.com/privacy for more information.
With Hill 355 secured, the focus of the fighting turned to the main objective, Hill 317 and its neigbouring feature Hill 217. 3RAR would make the assault on Hill 317 while the Northumberland Fusiliers attempted to take Hill 217. In order to take Hill 317, 3RAR first had to secure features known as Tango, Uniform and Qubec. The fighting to take these features would test the strength of 3RAR, severely reducing their numbers before they could make the main attack and seize Maryang San. https://www.australianmilitaryhistorypodcast.com/ Hosted on Acast. See acast.com/privacy for more information.
In 1951 the combatant nations of the Korean War had finally come to the negotiating table, raising hopes that the Korean War would soon be over. But when negotiations broke down, the troops went back to fighting. General Van Fleet wanted the UN troops to advance and push the Chinese troops back. US troops pushed forward at Punchbowl, and shortly thereafter the 1st Commonwealth Division, including the 3rd Battalion, Royal Australian Regiment (3RAR) launched its attack on the Maryang San complex.The first phase involved the attack on Hill 355 by the Kings Own Scottish Borderers and the Shropshire Light Infantry. 3RAR's role in this opening move was intended to be a supporting role, but when the Borderers and Shropshires were held up by heavy fire, C Company of 3RAR was sent in to help.https://www.australianmilitaryhistorypodcast.com/ Hosted on Acast. See acast.com/privacy for more information.
When the Second AIF headed to war, a little known photographer named Damien Parer was with them. Having made a reputation in the fledgling Australian film industry, Parer was selected as an official war photographer for the Department of Information. He would go on to record many of the iconic images of Australian troops in that war. But the bureaucracy of the DoI would eventually see Parer resign and take up a role with Paramount News, a move which would bring about his untimely death on the island of Peleliu. https://www.australianmilitaryhistorypodcast.com/episodes Hosted on Acast. See acast.com/privacy for more information.
With the port town of Rabaul captured by the Japanese, the men of Lark Force began their retreat. Two main escape routes developed, one to the north and the other to the south. All of the survivors experienced hardships over the coming weeks. Those who went north and came under the energetic leadership of Lt Appel were the lucky ones, being evacuated after only a few weeks. Those who headed south faced a much tougher trek, with some destined to fall victim to Japanese atrocities at the Tol Plantation. Warning - contains description of the massacre at Tol. https://www.australianmilitaryhistorypodcast.com/ Hosted on Acast. See acast.com/privacy for more information.
If you would like to support the petition to erect a memorial to the Coastwatchers at Hamilton on the Brisbane River, please follow this link. https://www.epetitions.brisbane.qld.gov.au/petition/view/pid/1246CheersWarwick Hosted on Acast. See acast.com/privacy for more information.
The war in Europe seemed a long way off for the inhabitants of New Britain and there was no real urgency from the Australian Chiefs of Staff to secure this vital island. A token force was sent to Rabaul to observe any movement and to report back to Army HQ. But in December 1941, Japanese forces bombed Pearl Harbor and began their conquest of the Pacific. Rabaul was now under threat, but you wouldn't know it. The Defence Chiefs decided not to reinforce Lark Force, or even provide them with adequate resources to defend the port town. Lark Force commander, Colonel Scanlan, had not even made plans for a withdrawal should the Japanese force arrive anytime soon. And arrive they did, and a spirited yet doomed attempt to defend New Britain was undertaken. https://www.australianmilitaryhistorypodcast.com/Links to the Office of Australian War Graveshttps://www.dva.gov.au/wargraves https://www.dva.gov.au/recognition/office-australian-war-graves/war-cemeteries-and-gardens-remembrance/gardens-remembrancehttps://www.dva.gov.au/recognition/office-australian-war-graves/war-cemeteries-and-gardens-remembrance/war-cemeteries Hosted on Acast. See acast.com/privacy for more information.
By the morning of the 7th August 1915, British troops were landing at Suvla Bay, , the left assaulting column was taking off for its part in proceedings, New Zealand Troops were waiting to attack Chunuk Bair and men of the Australian Lighthorse were preparing to charge at The Nek. This day would be one of farce and heartbreaking tragedy. The Commander of the Suvla Landing would start the day with a satisfying snooze while his troops foundered onshore and the left assaulting column would follow a guide on a short cut that ended up adding three hours to the advance and getting the troops lost. At The Nek, two Lighthorse Regiments would be destroyed and the following day would see the destruction of the New Zealanders on Chunuk Bair. https://www.australianmilitaryhistorypodcast.com/ Hosted on Acast. See acast.com/privacy for more information.
With all the planning in place, it was time to put it all into action. Starting with a diversionary attack from Tasmania Post, the Allied attempt to break out from the Anzac Beachhead began. In the afternoon of 6th of August, the Australians charged forward at Lone Pine, initiating what would become five days of brutal fighting. As darkness fell, the main assault headed off for its attack on Chunuk Bair. Timing was crucial. Chunuk Bair had to be taken before dawn, but a series of delays, navigational errors and command failure, saw the New Zealanders waiting at the edge of their objective, with the sun rising. It was all starting to unravel before it had really begun. Hosted on Acast. See acast.com/privacy for more information.
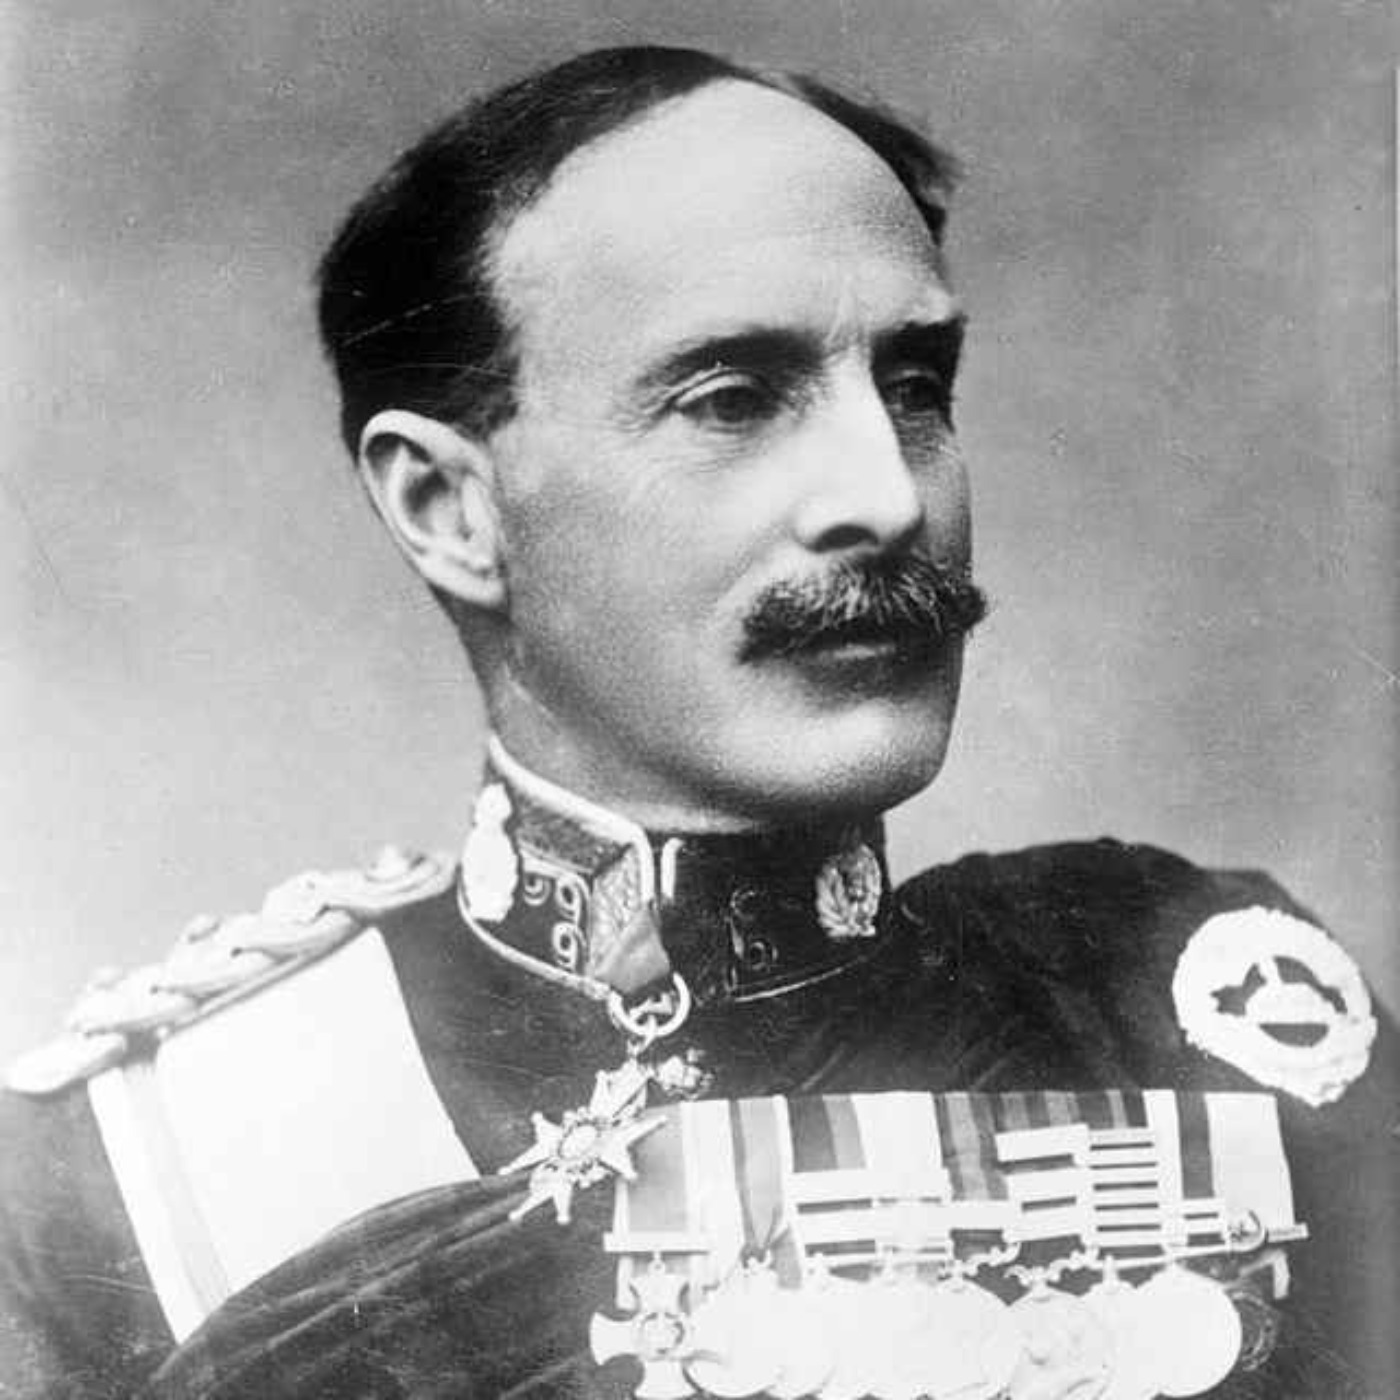
By August 1915, the Gallipoli Campaign had ground to a halt. Thousands of Allied troops had advanced not much further than they had on the first day of the Landing back in April. Something needed to happen to get this thing rolling again and bringing it to a successful conclusion. The British Commander of the expedition, General Sir Ian Hamilton was presented a modest plan from the Anzac Commander General William Birdwood, for an attack out of the Anzac position. Hamilton had been offered seven more Divisions to reinforce his beleaguered campaign, and in Birdwood's plan he saw the nucleus of a plan that would blow the campaign wide open. The August Offensive would be his last throw of the dice. Hosted on Acast. See acast.com/privacy for more information.
With the battle on a knife's edge, General Windeyer has to decide where to send his 20th Brigade for the best chance at finally breaking into Finschhafen. Between the Bumi River and the village lay a number of ridges and valleys, not to mention strong Japanese positions. And gnawing away at the back of Windeyer's mind is the potential threat from Sattleberg. If the Japanese broke through from there, then the 20th Brigade's supply centre and only chance of escape would be lost. But his only option was to attack and hope that reinforcements arrive in time to secure his flank. Hosted on Acast. See acast.com/privacy for more information.
Having established themselves around the Scarlet Beach and securing the village of Katika, the troops of the 20th Brigade began to push south towards Finschhafen. In their way stood the Bumi River, guarded by Japanese troops as members of the elite Japanese Marines. It was a tough fight just getting there, but a beachhead was soon established. However, the entire battle was now in danger of collapse. Far from being forced onto the defensive, it was becoming apparent that large numbers of Japanese troops were preparing to attack the beach head at Scarlet Beach, the Brigade's only avenue of supply. The 20th Brigade needed reinforcement, but pedantry at higher command would delay the dispatch of troops by a vital three days. Hosted on Acast. See acast.com/privacy for more information.
With Lae and Salamaua now in Allied hands, the next step in the expulsion of the Japanese from New Guinea would take place in Finschhafen. The 9th Division's 20th Brigade, veterans of Tobruk and El Alemein, would be the men tasked with making this amphibious attack. With assurances from that the US navy could land the men at the exact spot, the landing craft moved towards the beach in the pre-dawn light. Only a handful would be landed at the appropriate spot while the rest would have to sort themselves out quickly if they were going to push the Japanese back from the beachheads. Hosted on Acast. See acast.com/privacy for more information.
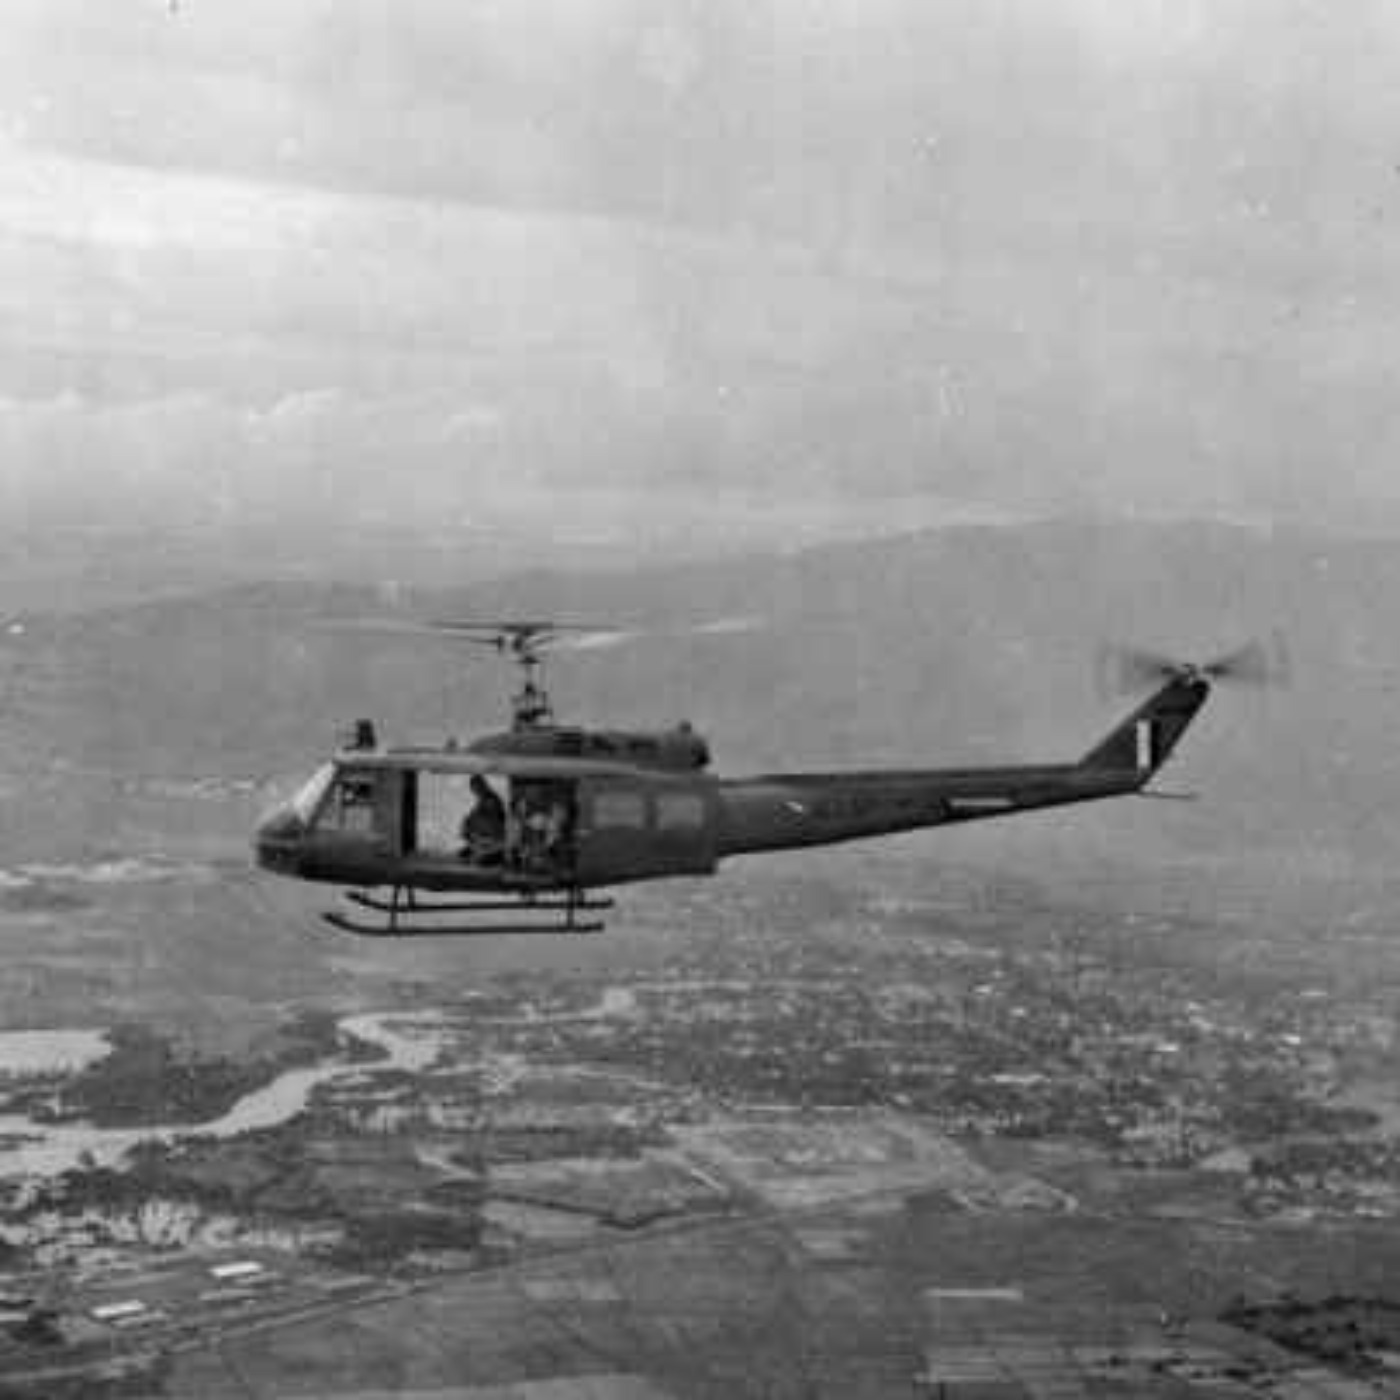
While the main focus of Australia's involvement in Vietnam tends to be on the army, the army lads could not have done their job without the support from the Royal Australian Air Force. Whether it was the transport of men and materiel provided by Wallaby Airlines, the combat support of 9 Squadron, the bombing provided by 2 Squadron or the medical evacuation by the medical squadron, the RAAF was there from the start in 1964 and were the last to leave in 1975. Hosted on Acast. See acast.com/privacy for more information.
Having held off the Chinese offensive overnight, the Australians of 3RAR were in a tricky spot. They were running dangerously low on ammunition and medical supplies and the extraction of their wounded was problematic. Despite having given the Chinese a bloody nose, 3RAR had no choice but to fall back. But to withdraw while in contact with the enemy is one of the most difficult military operations to conduct. With the easier route cut off, the only way out was along the ridgelines. And then enemy weren't going to make it easy for them. Hosted on Acast. See acast.com/privacy for more information.
In April 1951, as troops from 3RAR were resting and preparing for Anzac Day commemorations, the Chinese army launched its largest offensive since its entry to the Korean War. The UN front collapsed and soon the Australians on the right of the Kapyong Valley, with Princess Patricia's Canadian Light Infantry Regiment on the left with some minor support units in between, would soon be all that stood between the Chinese army and a devastating victory. Hosted on Acast. See acast.com/privacy for more information.


