Discover The Art of Retouching Studio
The Art of Retouching Studio
Author: The Art of Retouching Studio
Subscribed: 19Played: 77Subscribe
Share
© 2024 The Art of Retouching Studio
Description
TheArtOfRetouching.com is a comprehensive platform designed for photo retouching enthusiasts, offering an extensive array of resources and tutorials. Focused on enhancing digital image editing skills, the website provides valuable insights into various facets of photo retouching. Covering topics such as color correction, skin retouching, and composition, it caters to individuals seeking to refine their techniques and elevate the quality of their digital images.
Structured to accommodate users of all proficiency levels, the website features step-by-step instructions, tips, and techniques. The name itself implies a dedication to both the artistic and technical dimensions of manipulating digital photographs. Visitors to TheArtOfRetouching.com can expect to find a rich repository of knowledge, serving as a valuable resource for those passionate about mastering the craft of photo retouching.
While the specific details of the content may evolve over time, the foundational principles presented on the website are likely to remain relevant. The platform stands as a hub for creative and technical exploration, offering a timeless resource for individuals interested in the art and techniques of photo retouching.
73 Episodes
Reverse
Unlock the keys to Self Employment for Beginners! Your Freelancer Success is finally here. This video is part 3 in the series of How To Succeed as a Freelancer. If you take the time to watch them all, I will have given you every freelancer trick that I can think of to help you thrive. From finding Clients, to keeping them coming back. Success truly is within your reach.
Beyond the basics of Photoshop, I'll delve into the business aspects of freelancing, offering real-world skills for managing clients, navigating stylistic challenges, and maintaining sanity. From effective time management to setting boundaries, discover the essential elements that contribute to a thriving freelance career. Whether you're a seasoned freelancer or just starting, this video provides practical advice to help you on your journey to freelancer success. Subscribe now for actionable tips and stay ahead in the competitive freelancing landscape.
The post How to Succeed as a Freelancer | Self Employment for Beginners appeared first on The Art of Retouching.
I want to clear up the usual common misconceptions about Color Modes, Color Models, Color Profiles, and Color Spaces. Give me a few minutes of your time, and you will no longer be confused by it. The base cause of this confusion stems from my research in this topic. Half the websites say one thing, and the other half say something else. Rest assured that I am a qualified professional. I’ve done my research, and this is the correct information.
The post What are Color Profiles and Color Modes in Photoshop? appeared first on The Art of Retouching.
In this video, I’ll introduce you to three important topics that are essential for working with digital images in Photoshop, and these are pixels, image size and image resolution. Having a solid understanding of how they are related to each other is essential for getting the best results when resizing images, both for print and for the web. Let’s take a look at Image Resolution, and how you can make it work for you.
Having a solid understanding of how they are related to each other is essential for getting the best results when resizing images, both for print and for the web. Let’s take a look at Image Resolution, and how you can make it work for you.
The post What is Effective Resolution? | Resolution and Pixel Density appeared first on The Art of Retouching.
I'll be talking about how to keep yourself sane throughout your retouching career beyond Photoshop and growing your portfolio. Because working from your home office and making money isn't all about the basics of Photoshop, it's about business. This video aims to teach you real-world skills on how to handle clients the right way and on how to make things happen as a successful freelancer.
The post How to Succeed as a Freelancer | Self-Employment Strategies appeared first on The Art of Retouching.
The sad thing about working as a freelancer is that thanks to the word "Free", people often think that the work you do is low cost. In their mind, they are doing YOU the favor by keeping you busy, and helping you grow your portfolio so you can start making some real money.
This mindset completely undervalues your work, forcing you to spend all your time underpaid. If you could only break out of the low-cost slump through effective freelancing strategies, you might begin living a more prosperous life. The problem lies in my past belief that the price was too high; I assumed others wouldn't pay those rates. Boy, was I wrong.
The post How to Succeed as a Freelancer | Freelancing Strategies appeared first on The Art of Retouching.
What is the difference between editing images in 8-bit or 16-bit? While it should be obvious that 16-bit color is significantly better than 8-bit color. After all, 8-bit is only 16.7 million colors when comparing that to 16-bit which is 2.81 Trillion Colors. However, it just doesn't seem that way to the naked eye. This is because humans can only see less than 10 million colors anyway. Since 8-bit already exceeds 16 million colors, why in the world do we need to work in a bit depth that moves us into trillions of colors? Visually, they both look the same, why use the higher resolution?
The post 8-Bit vs. 16-Bit | Bit Depth | What is Tonal Range? appeared first on The Art of Retouching.
What is the 300 DPI Myth? What are DPI, PPI and LPI? John Ross will explain to you the differences between Dots Per Inch, Pixels Per Inch, and Lines Per Inch. You will learn how to use them to supply images for Print magazines.
In this video we are going to cover a topic that nobody ever talks about. DPI, PPI and LPI. More specifically, dots per inch, pixels per inch and lines per inch. In the magazine and advertising industry, they throw around the acronym DPI all the time. Designers and advertisers keep telling everyone “I need that image at 300 DPI”. However, more often than not, they really mean 300 PPI.
The post The 300 DPI Myth | What Are DPI, PPI & LPI? appeared first on The Art of Retouching.
For Advanced Photoshop Magazine #130, I was asked to show how I create my selections. In this extended video, I'm going to show you the ins and outs of Professional Masking.
Properly masking an image with Adobe Photoshop is often done using one of the simple selection tools like Magic Wand or Lasso. This is simply the wrong approach. You should actually be using Color Range and QuickMask. If you're itching to know how I work around these tools, you've come to the right place. I'm going to let you in on the tips and tricks that I use behind the scenes in order to come up with a clean and accurate final image. Lets get started.
The post Professional Masking | How to use Quickmask appeared first on The Art of Retouching.
I will tell you all about the magic of Smart Objects and Smart Filters. For any retoucher, it's important to develop a non-destructive workflow. Smart Objects and Smart Filters will give you the ability to go back and forth between your actions without permanently damaging your photo.
The post Smart Objects and Smart Filters | Photoshop Basic 2 Tutorial appeared first on The Art of Retouching.
When working in Photoshop, while most of it is creative, sometimes you will want to be as accurate as you possibly can. Rulers and guides come in handy because they help you create specific points in your image that you may want to refer to at a later point in time.
The post Rulers and Guides | Photoshop Beginner’s Tutorial appeared first on The Art of Retouching.
Aside from the Lasso-based tools, we can also use the Magic Wand when it comes to making selections in Photoshop. You can press and hold the Quick Selection Tool to choose the Magic Wand Tool. When you click on a section in your image, it selects an area based on the range of colors that your provide, limited by the value of your Tolerance in the Options bar. Photoshop’s default Tolerance is 32, but you can increase or decrease that value to grab more areas at once or less areas at once respectively.
The post Magic Wand and Quick Selection | Photoshop Beginner’s Tutorial appeared first on The Art of Retouching.
The purpose of making a selection, is so that you can make changes within a limited, and controlled area.There are a variety of tools you should consider when making selections in your image. There are several that will allow you make direct selections by drawing them, and a few that let you make your selections based on color.
I will preface this by saying that make generic selections like this might create what is called a Layer Mask, none of the techniques I am going to talk about are ones that I would teach to my students. they are simplistic, and will not yield optimal results. The reason I am talking about them with you now, is because they are an easy way to get you to your end goals. While they are not the best, they are simply the easiest for you to get started with.
The post Lasso, Polygonal Lasso, Magnetic Lasso | Photoshop Beginner’s Tutorial appeared first on The Art of Retouching.
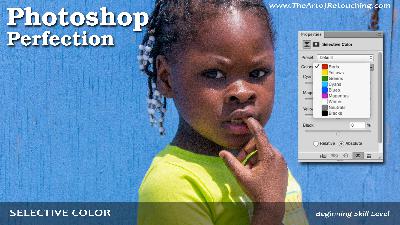
Selective Color is the go-to tool for simple color correction. Little need for masking, and no confusing RGB sliders. You just need someone to give you a little direction, and you will find how easy this tool can be.
As with the other Adjustment Tools, you can find it with the Adjustments Palettee, which is found within Window – Adjustments. The second way is at the bottom of the Layers Palette, with the Black and White Circle icon for New Adjustment Layers. Lastly, it’s also in Layer – New Adjustment Layer – Selective Color.
The post Selective Color | Photoshop Beginner’s Tutorial appeared first on The Art of Retouching.
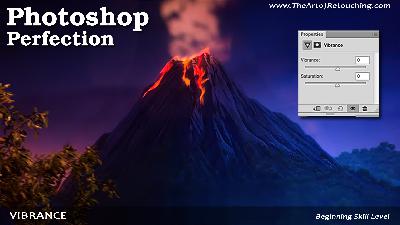
Let’s say you have an image that’s looking pretty pale. When you want to adjust the saturation of an image, I normally don’t recommend using the Saturation Adjustment. Instead, what we’ll be using is the Vibrance Adjustment, because it has Saturation included, and gives you more control over your adjustments. Over at the Adjustments Palette, you can select the Vibrance icon. You can also find it at the bottom of your Layers Palette, as well as in Layer – New Adjustment Layer – Vibrance.
The post Vibrance | Photoshop Beginner’s Tutorial appeared first on The Art of Retouching.
When you want to create tonal changes the easiest and simplest way possible, your best bet is to use Levels. Simply go over to the Adjustments palette (or if it isn’t open yet, go to Window – Adjustments). There, click on the icon that says “Levels”. Another way would be to go to the Layers palette and click on the Black/White Circle icon that says “Create new fill or adjustment layer”. Finally, a third way of doing it is to go over to Layer – New Adjustment Layer – Levels.
The post Levels | Photoshop Beginner’s Tutorial appeared first on The Art of Retouching.
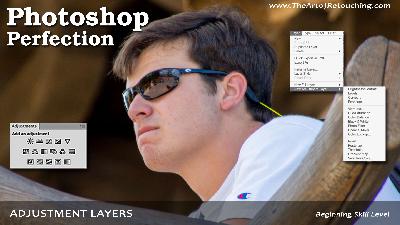
Adjustment Layers work like tinted sheets of glass that you overlay on top of your image one at a time. It’s kind of like a tinted or colored light bulb. You can turn on/off the effect, or adjust the values as a separate layer on top of your original image background layer. For instance, on top of your base layer (original image), we can make tone adjustments as well as color adjustments. Each of these adjustments will be placed on separate layers, on top of your original background image.
Because you’re working on a separate layer for all these adjustments, you are not causing any permanent damage to your original background base image. You are effectively preserving it pixel by pixel in case you need to undo your changes later. As an example, when you click on one of the icons in the Adjustments Palette, it will automatically add a new layer in your Layers Palette, as well as open up the Properties window for that particular adjustment you chose.
The post Adjustment Layers | Photoshop Beginner’s Tutorial appeared first on The Art of Retouching.
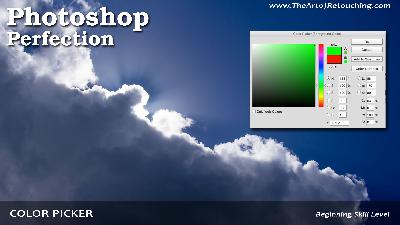
The Color Picker in Photoshop is used for a variety of different reasons. At a basic level, it can be used to choose a color, and then then you can paint with that color. Once you become more familiar with how it works, it can be used to match colors, transfer color values from one program to another, for internet use, or otherwise communicate with graphic designers and pressmen. This will be a simple introduction at this point. None of that crazy stuff.
The post Color Picker | Photoshop Beginner’s Tutorial appeared first on The Art of Retouching.
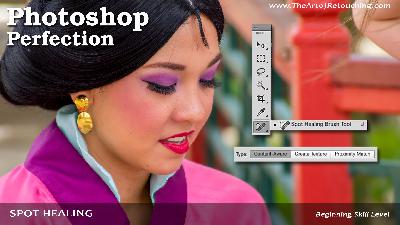
Nearly every image can benefit from Cloning or Healing. It could be removing flyaway hair, dust on the lens, skin blemishes, or any of the other hundred things I could think of. Some corrections require some skill, and knowledge to handle the various tools properly. One tool stands alone for it's absolute simplicity, the Spot Healing Brush.
Older versions of this tool were pretty crappy, and gave it immediate negative feels, and no one really wanted to use it. Myself included. However, with the release of CS6 and then CC, Adobe has continued to improve upon how smart it's automatic functions work. If you are new to Photoshop, check out how easy it is to clean up your images.
The post Spot Healing Brush | Photoshop Beginner’s Tutorial appeared first on The Art of Retouching.
When it comes to navigating around your image, there are two tools and one palette that will come in really handy. This video will walk you through how to use the Navigator Palette, Hand Tool, and Zoom Tool. These are some of the most basic items in Photoshop, and they are really easy to use. Except maybe the Zoom Tool (otherwise known as the Magnifaction Tool). Adobe broke it in back in CS4, but I will show you how to make it work like it used to, in case you find that you hate it as much as I do.
The post Navigator, Hand, and Zoom Tools | Photoshop Beginner’s Tutorial appeared first on The Art of Retouching.
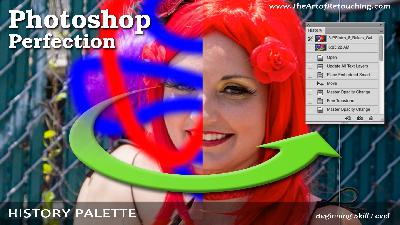
Nobody is perfect. We all make mistakes, especially when it comes to perfecting our retouching. In those moments when you just can’t find the right adjustment for something, the History Palette comes to the rescue. By default, you will have 20 past steps that you can undo.
The history palette basically just allows you to go back to your previous actions and correct past mistakes. Initially, when you go to the history palette, you will see your image and the label that says “Open”. This means that you haven’t really done anything yet but open the image. Start by clicking the pulldown Window - History, and it will open the History Palette.
The post History Palette | Photoshop Beginner’s Tutorial appeared first on The Art of Retouching.


