


 Claim Ownership
Weekly Code Quickies
Subscribed: 3Played: 38
Subscribe

© Norbert B.M.
Description
Weekly Code Quickies is a podcast designed for programmers and developers of all skill levels. Each episode is a bite-sized, quick-hit of valuable information and tips on a specific programming languages, back to front-end frameworks, best tools, emerging technologies, and best practices for working remotely. The podcast is perfect for those who are short on time but still want to stay up-to-date with the latest developments in the industry, including the latest tech news, new technologies, and gaming industry updates.
norbertbmwebdev.substack.com
norbertbmwebdev.substack.com
66 Episodes
Reverse
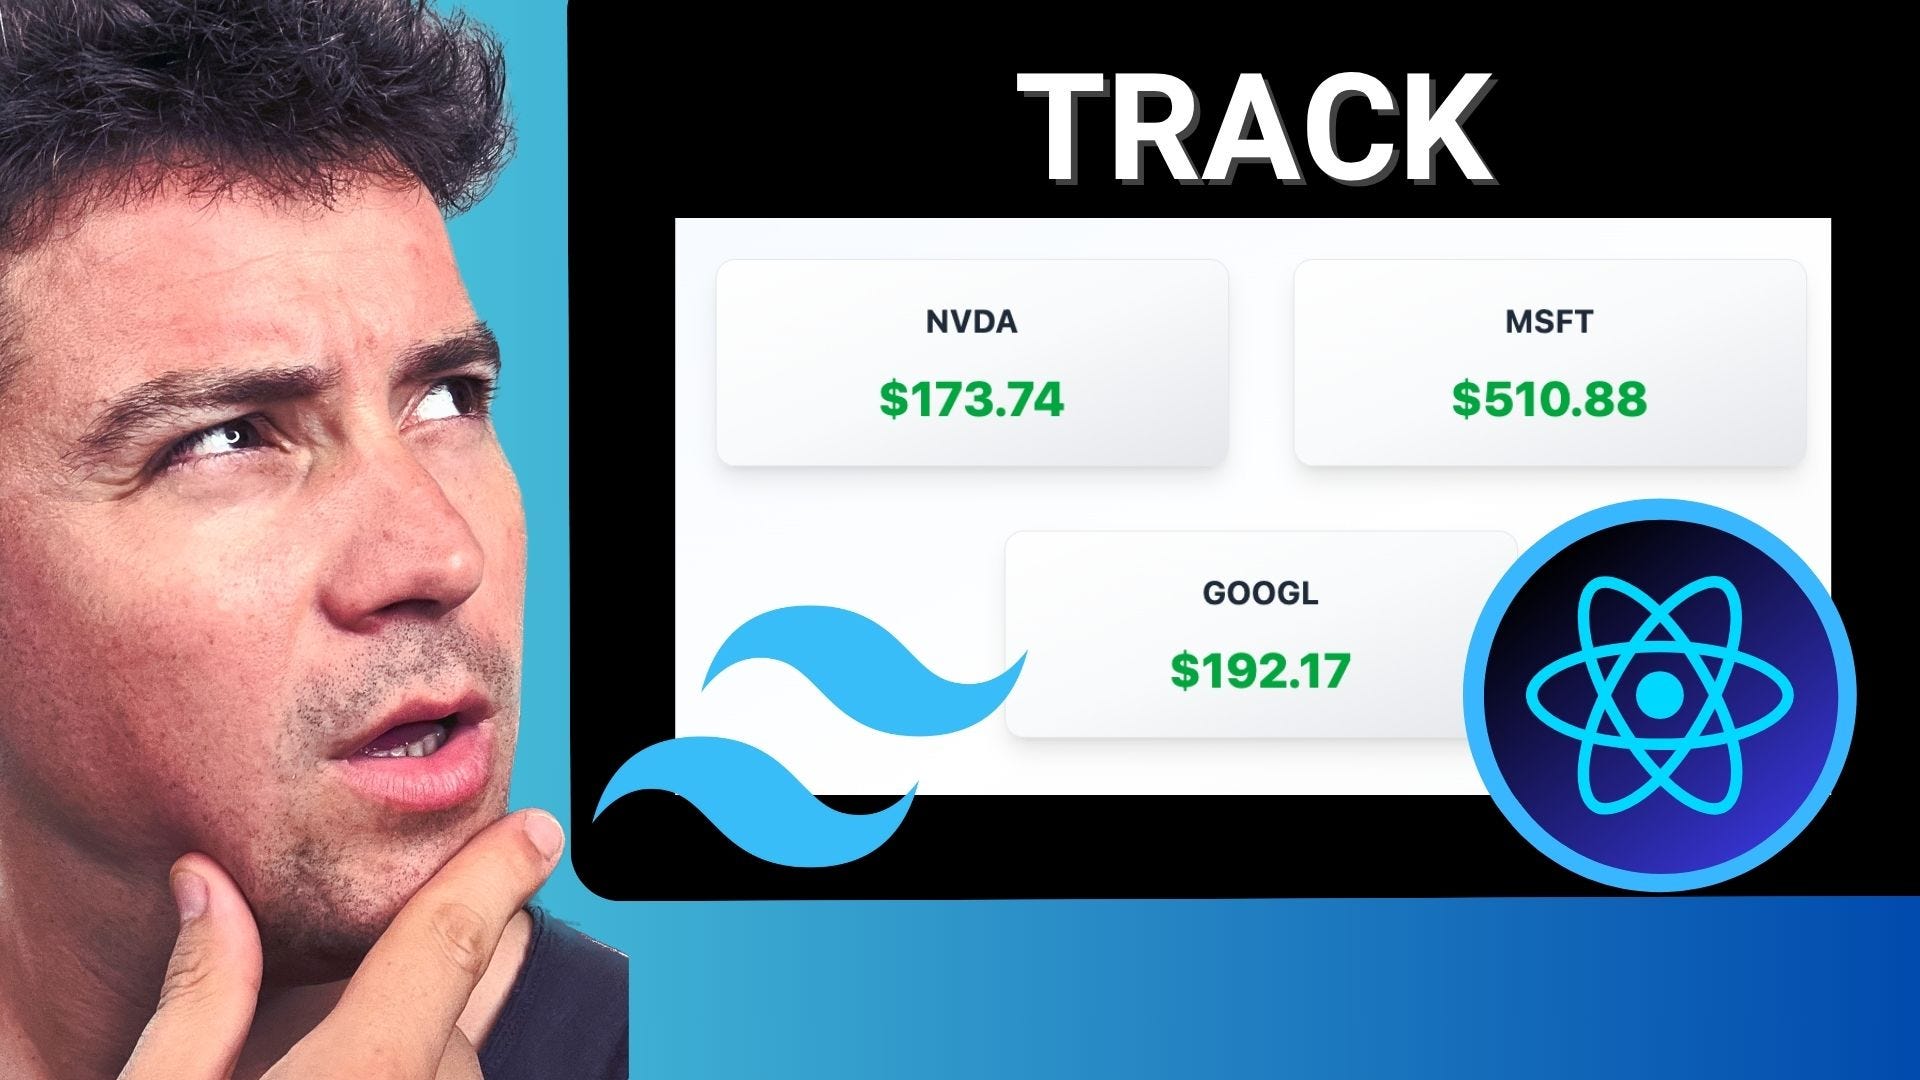
Looking to build your own real-time stock market tracker app? In this hands-on tutorial, we’ll use React, Tailwind CSS, and the Alpha Vantage API to create a sleek and functional live stock price tracker.Whether you’re a frontend dev or a beginner trying to get into finance tech, this is a project-based learning opportunity that teaches practical skills while building something useful.In this project, you'll learn how to:- Fetch live stock prices from an API using React hooks- Manage dynamic lists and user input- Display loading states and error handling- Style your app with Tailwind CSS for a professional lookPerfect for beginners and intermediate developers looking to boost their React skills!🛠️ What We'll Build* 🔍 A stock search bar with live suggestions* 💰 A dashboard showing real-time prices* 📉 Dynamic price color change (green/red)* 📱 Clean Tailwind-powered responsive UI* 🌐 API integration with Alpha Vantage (free key!)🚀 Technologies Used* React + Vite* Tailwind CSS* Alpha Vantage API (Get your key)* React hooks: useState, useEffect, fetch🧱 Project SetupbashCopyEditnpm create vite@latest stock-tracker --template react cd stock-tracker npm install npm install -D tailwindcss postcss autoprefixer npx tailwindcss init -pTailwind Setup (tailwind.config.js):jsCopyEditcontent: [ "./index.html", "./src/**/*.{js,ts,jsx,tsx}", ],Tailwind in index.css:cssCopyEdit@tailwind base; @tailwind components; @tailwind utilities;🔗 API Setup with Alpha VantageSign up at AlphaVantage.co and grab your API key.Example fetch call:jsCopyEditconst fetchStockPrice = async (symbol) => { const res = await fetch(`https://www.alphavantage.co/query?function=GLOBAL_QUOTE&symbol=${symbol}&apikey=YOUR_KEY`); const data = await res.json(); return data['Global Quote']; };📊 Displaying Stock DataExample JSX:jsxCopyEdit {stockName} 0 ? 'text-green-500' : 'text-red-500'}`}> ${stockPrice} ({priceChange}%) 🎨 UI Tips with Tailwind CSS* Use grid-cols-2 or flex justify-between for layouts* Add a search input with a dropdown using absolute, bg-white, z-10* Animate loading state with animate-pulse📱 Optional Enhancements* Save recent stock symbols to localStorage* Add a chart using Chart.js or Recharts* Show currency, volume, or market capSource Code:import React, { useState, useEffect } from "react";
// StockPrice component fetches and displays the price for a given ticker
function StockPrice({ ticker = "" }) {
const [price, setPrice] = useState(null); // Holds the fetched price
const [loading, setLoading] = useState(true); // Loading state
const [error, setError] = useState(null); // Error state
useEffect(() => {
// Fetch stock price from Alpha Vantage API
const fetchStockPrice = async () => {
try {
setLoading(true);
const apiKey = import.meta.env.VITE_ALPHAVANTAGE_API_KEY; // Uncomment and set your API key
const response = await fetch(
`https://www.alphavantage.co/query?function=GLOBAL_QUOTE&symbol=${ticker}&apikey=${apiKey}`
);
if (!response.ok)
throw new Error(`HTTP error! status: ${response.status}`);
const data = await response.json();
// Check if the API returned a valid price
if (data["Global Quote"] && data["Global Quote"]["05. price"]) {
setPrice(parseFloat(data["Global Quote"]["05. price"]).toFixed(2));
setError(null);
} else {
setError("Could not retrieve price for this ticker.");
setPrice(null);
}
} catch (e) {
setError(`Error fetching data: ${e.message}`);
setPrice(null);
} finally {
setLoading(false);
}
};
fetchStockPrice(); // Call the fetch function when ticker changes
}, [ticker]);
return (
{/* Display the ticker symbol */}
{ticker}
{/* Show loading spinner while fetching */}
{loading && (
Loading price...
)}
{/* Show error message if there is an error */}
{error && {error}}
{/* Show the price if loaded successfully */}
{!loading && !error && price !== null && (
${price}
)}
{/* Show message if no data is available */}
{!loading && !error && price === null && (
No data available.
)}
);
}
// Main StockPriceTracker component manages the list of tickers and input
export default function StockPriceTracker() {
const [tickers, setTickers] = useState(["NVDA", "MSFT", "GOOGL"]); // Initial tickers
const [input, setInput] = useState(""); // Input for new ticker
// Add a new ticker to the list
const addTicker = () => {
const val = input.trim().toUpperCase();
if (val && !tickers.includes(val)) {
setTickers([...tickers, val]);
setInput("");
}
};
return (
{/* App title */}
My Stock Tracker
{/* Input and Add button for new tickers */}
setInput(e.target.value)}
placeholder="Add ticker (e.g. AAPL)"
/>
Add
{/* Display StockPrice components for each ticker */}
{tickers.map((ticker) => (
))}
);
}
Get full access to Norbert’s Web Dev School at norbertbmwebdev.substack.com/subscribe

In this guide, we’ll walk step-by-step through creating a fully functional React app using React Router v7, styled with TailwindCSS, and powered by Vite. This is your go-to tutorial for learning client-side routing in React — from setup to nested routes and 404 pages.📦 Technologies Used* React 19 (via Vite)* React Router v7.6.3* TailwindCSS 4.1+* Vite (for fast build + dev server)🛠️ Project Setup with Vite & TailwindCSSReact Router Crash Course: Step-by-Step GuideReact Router is the standard routing library for React. In this crash course, we’ll build a simple multi-page app using React Router v6+ and Vite. Let’s get started!1. Project SetupFirst, create a new React project using Vite:npm create vite@latest react-router-crash-course -- --template react
cd react-router-crash-course
npm install
Install React Router:npm install react-router-dom
2. Project StructureOrganize your files as follows:src/
App.jsx
main.jsx
components/
Button.jsx
Navigation.jsx
pages/
HomePage.jsx
AboutPage.jsx
ContactPage.jsx
ProductsPage.jsx
ProductDetailPage.jsx
NotFoundPage.jsx
Dashboard/
DashboardLayout.jsx
DashboardHome.jsx
DashboardProfile.jsx
DashboardSettings.jsx
3. Setting Up the RouterIn main.jsx, wrap your app with BrowserRouter:import React from "react";
import ReactDOM from "react-dom/client";
import { BrowserRouter } from "react-router-dom";
import App from "./App.jsx";
import "./App.css";
ReactDOM.createRoot(document.getElementById("root")).render(
);
4. Defining RoutesIn App.jsx, set up your routes:import { Routes, Route } from "react-router-dom";
import Navigation from "./components/Navigation";
import HomePage from "./pages/HomePage";
import AboutPage from "./pages/AboutPage";
import ContactPage from "./pages/ContactPage";
import ProductsPage from "./pages/ProductsPage";
import ProductDetailPage from "./pages/ProductDetailPage";
import NotFoundPage from "./pages/NotFoundPage";
import DashboardLayout from "./pages/Dashboard/DashboardLayout";
import DashboardHome from "./pages/Dashboard/DashboardHome";
import DashboardProfile from "./pages/Dashboard/DashboardProfile";
import DashboardSettings from "./pages/Dashboard/DashboardSettings";
function App() {
return (
} />
} />
} />
} />
} />
}>
} />
} />
} />
} />
);
}
export default App;
5. Creating NavigationIn components/Navigation.jsx, add navigation links:import { NavLink } from "react-router-dom";
function Navigation() {
return (
Home
About
Contact
Products
Dashboard
);
}
export default Navigation;
6. Building PagesCreate simple components for each page in the pages/ directory. Example for HomePage.jsx:function HomePage() {
return Welcome to the Home Page!;
}
export default HomePage;
Repeat for AboutPage.jsx, ContactPage.jsx, etc.7. Dynamic RoutesIn ProductDetailPage.jsx, use the useParams hook to get the product ID:import { useParams } from "react-router-dom";
function ProductDetailPage() {
const { id } = useParams();
return Product Details for ID: {id};
}
export default ProductDetailPage;
8. Nested Routes (Dashboard Example)In DashboardLayout.jsx, use the Outlet component:import { Outlet, NavLink } from "react-router-dom";
function DashboardLayout() {
return (
Dashboard
Home
Profile
Settings
);
}
export default DashboardLayout;
9. Handling 404sIn NotFoundPage.jsx:function NotFoundPage() {
return 404 - Page Not Found;
}
export default NotFoundPage;
10. Running the AppStart your development server:npm run dev
Visit http://localhost:5173 to see your app in action!ConclusionYou now have a working React app with multiple pages, nested routes, dynamic routes, and a 404 page—all powered by React Router. Experiment by adding more pages or features! Get full access to Norbert’s Web Dev School at norbertbmwebdev.substack.com/subscribe
In this tutorial, you'll get a complete understanding of React components including how to build and structure them using best practices. You'll learn about functional components, props, state, JSX, hooks, composition, and how to break an app into reusable modules.📽️ YouTube Video Title (High CTR)🔧 Step-by-Step Tutorial1. 📦 What is a Component in React?* A component is a reusable and self-contained part of the UI.* It’s either a function or class (function preferred).* Allows splitting the UI into isolated pieces.function MyComponent() {
return Hello World;
}
2. 🧩 Types of Components✅ Functional Components (modern, preferred)const Welcome = () => Welcome!;
❌ Class Components (legacy)class Welcome extends React.Component {
render() {
return Welcome!;
}
}
3. 🛠 Using PropsProps = "properties" → input data passed to a component.They are read-only and passed via JSX attributes.function Greeting({ name }) {
return Hello, {name}!;
}
4. 🔁 State ManagementState = data that can change.Use useState to manage it in a functional component.const [count, setCount] = useState(0);
Updating state triggers a re-render of the component.5. ⏱ Lifecycle with useEffectReact uses useEffect() for side effects like fetching data.useEffect(() => {
console.log("Component Mounted");
}, []); // Empty array = run once
6. 💻 JSX SyntaxJSX = HTML + JavaScript hybrid syntax.It compiles to React.createElement() behind the scenes.const App = () => (
Hello JSX!
);
7. 🧱 Component CompositionComponents can include other components → reusable UIs.const Page = () => (
);
8. 📦 Exporting and Importing ComponentsCreate a component:const Footer = () => © 2025;
export default Footer;
Use it:import Footer from './components/Footer';
9. 📁 Project Refactor ExampleWe extracted Footer.jsx, Home.jsx, Page.jsx, RecipePage.jsx, RecipeCard.jsx, and RecipeModal.jsx components into a structured folder system.Folder Structure:src/
├── components/
│ ├── Footer.jsx
│ ├── Page.jsx
├── pages/
│ ├── Home.jsx
│ ├── RecipePage.jsx
│ ├── Recipes/
│ │ ├── RecipeCard.jsx
│ │ ├── RecipeModal.jsx
10. 📚 Best Practices* ✅ Name components with capital letters* ✅ One export default per file* ✅ Keep components small & focused* ✅ Use props to customize components* ✅ Return a single parent element Get full access to Norbert’s Web Dev School at norbertbmwebdev.substack.com/subscribe

🔍 Implement Search & Category Filtering in React with TailwindCSS (2025 Guide)In this guide, you’ll learn how to implement powerful search and category filtering in a React application using TailwindCSS for styling. This builds on a previous project where we created a responsive recipe website.By the end of this tutorial, you'll be able to:* Filter recipe cards by text input* Filter by category dropdown* Clear search with a single click* Ensure case-insensitive matching✅ Prerequisites* A React app already set up (ideally with TailwindCSS + recipe data)* Basic understanding of React state and hooks🧱 Step 1: Create State for Search and CategoryInside your RecipesPage.jsx (or App.jsx if everything is in one file):const [searchQuery, setSearchQuery] = useState("");
const [category, setCategory] = useState("");
const [filteredRecipes, setFilteredRecipes] = useState(recipes);
🎨 Step 2: Create the UI🔍 Search + Filter Inputs
Featured Recipes
setSearchQuery(e.target.value)}
className="w-full md:w-1/2 px-4 py-2 border border-gray-300 rounded focus:outline-none focus:ring-2 focus:ring-amber-500"
/>
setCategory(e.target.value)}
className="w-full md:w-1/4 px-4 py-2 border border-gray-300 rounded focus:outline-none focus:ring-2 focus:ring-amber-500"
>
All Categories
{[...new Set(recipes.map(recipe => recipe.category))].map((cat, i) => (
{cat}
))}
{
setSearchQuery("");
setCategory("");
}}
className="cursor-pointer bg-gradient-to-r from-amber-500 to-orange-500 hover:from-orange-500 hover:to-amber-500 text-white px-6 py-2 rounded transition duration-300"
>
Clear Search
⚙️ Step 3: Search Logic with useEffectuseEffect(() => {
const query = searchQuery.toLowerCase();
const result = recipes.filter(recipe =>
recipe.title.toLowerCase().includes(query) ||
recipe.ingredients.some(ing => ing.toLowerCase().includes(query)) ||
recipe.category.toLowerCase().includes(query)
);
if (category) {
setFilteredRecipes(result.filter(recipe => recipe.category === category));
} else {
setFilteredRecipes(result);
}
}, [searchQuery, category]);
This runs every time the search query or category changes.📦 Step 4: Display Filtered Recipes
{filteredRecipes.length > 0 ? (
filteredRecipes.map((recipe, i) => (
))
) : (
No recipes found.
)}
🧠 Bonus: Tips* Use toLowerCase() to make searching case-insensitive* Use Set to generate unique categories* Add debounce if your search data is large* For UX, make the clear button instantly reset filters📈 SEO Keywords* React search filter tutorial 2025* Tailwind CSS form input search* Recipe search filter React example* Case-insensitive search with useEffect* Responsive dropdown in React + TailwindCSS Get full access to Norbert’s Web Dev School at norbertbmwebdev.substack.com/subscribe

📝 DescriptionReady to learn React in 2025? This crash course walks you through creating your first real-world React app with hooks, components, and JSX.✅ What you'll learn:* Setting up React with Create React App* JSX, Props, State & Hooks* Styling, Conditional Rendering, Lists* Component architecture & folder structure#ReactJS #CrashCourse #WebDevelopment #JavaScript #FrontendDev #ReactHooks #React2025🚀 React.js Crash Course 2025 – Build Your First App from ScratchWelcome to this beginner-friendly React.js crash course for 2025! Whether you're transitioning from HTML, CSS, and JavaScript or starting fresh, this tutorial will give you a rock-solid foundation in React with best practices, clean structure, and modern JavaScript techniques.📦 Step 1: What Is React.js?React is a JavaScript library for building user interfaces, created and maintained by Meta (Facebook). It allows you to create reusable components, use a virtual DOM for faster rendering, and structure your frontend with clean, component-based architecture.React is not a full-blown framework like Angular—think of it as the view layer of your app. It’s great for building single-page applications (SPAs).🧱 Step 2: Setting Up React✅ Prerequisites:* Node.js & npm (Install from nodejs.org)* A code editor like VS Code🛠 Create a New React Appnpx create-react-app my-app
Replace my-app with your project name.Navigate into your app:cd my-app
Start the app:npm start
Your React app will open at http://localhost:3000📂 Step 3: Project Structure OverviewReact generates this structure:my-app/
├── node_modules/
├── public/
│ └── index.html
├── src/
│ ├── App.js
│ ├── App.css
│ ├── index.js
│ └── components/ (your custom folder)
├── package.json
* App.js: Main component* App.css: Main stylesheet* index.js: App entry point🧩 Step 4: Understanding JSX & ComponentsCreate a Functional Component// src/components/Welcome.jsx
function Welcome({ message = "World" }) {
return Hello {message}!;
}
export default Welcome;
Import & Use It// App.js
import Welcome from './components/Welcome';
function App() {
return (
);
}
JSX Notes* Always return a single root element (use ... if needed).* Use className instead of class.⚛️ Step 5: Using State with useStateimport { useState } from 'react';
function App() {
const [count, setCount] = useState(0);
return (
Count: {count}
setCount(count + 1)}>Increment
);
}
⏱ Step 6: Using Effects with useEffectimport { useEffect, useState } from 'react';
function App() {
const [seconds, setSeconds] = useState(0);
useEffect(() => {
const interval = setInterval(() => {
setSeconds(s => s + 1);
}, 1000);
return () => clearInterval(interval); // Cleanup
}, []);
return Time passed: {seconds}s;
}
🎨 Step 7: Styling in ReactOption 1: CSS File/* App.css */
.App {
background-color: aqua;
height: 100vh;
}
Option 2: Inline Styleconst myStyle = {
backgroundColor: 'black',
color: 'white',
fontSize: '2rem'
};
return Styled Heading;
🔁 Step 8: Conditional Renderingconst [isLoggedIn, setIsLoggedIn] = useState(false);
return (
{isLoggedIn ? : }
setIsLoggedIn(!isLoggedIn)}>Toggle Login
);
Or with &&:{hasAccess && }
🧾 Step 9: Lists and Keysconst items = ["A", "B", "C"];
return (
{items.map((item, index) => (
{item}
))}
);
⚠️ Use unique IDs for production (not index as key).🗂 Step 10: Folder Structure Best Practicessrc/
├── components/
│ ├── Header.jsx
│ ├── Button.jsx
├── pages/
│ ├── Home.jsx
│ ├── About.jsx
├── hooks/
│ └── useToggle.js
├── App.js
├── index.js
Clean up unused files like logo.svg, App.test.js, etc.🚀 Next Steps* Use React Router for navigation* Deploy using Vercel or Netlify* Add form handling and API callsStay tuned for the next part where we build a real React project from scratch!Download the PDF file here: Get full access to Norbert’s Web Dev School at norbertbmwebdev.substack.com/subscribe

Comments

Download from Google Play

Download from App Store
 United States