


I used all of Photoshop’s new AI features on my Mac. Here are the wild results
Description
Artificial intelligence is rapidly transforming digital workspaces, boosting efficiency and streamlining workflows. It has become a vital asset (and increasingly an expectation) for workflows, but AI still often requires human oversight. Like many other software companies, Adobe is joining the revolution by developing and integrating native AI features into Photoshop.
Generative Fill is the highlight AI feature in Photoshop. Powered by Adobe Firefly, the tool lets you create images and insert them into projects using simple text prompts. More recently, the company unveiled three new AI perks: Harmonize, Generative Upscale, and an improved object eraser. I’ve put them all to the test to see how well (or terribly) they perform, and whether creatives will appreciate the output quality.
The AI features are part of the latest version of the software. Read my in-depth review of Adobe Photoshop.
Photoshop AI Harmonize tool
Photoshop can be used to insert objects into existing images. In the old days, you’d need to manually delete the object’s background, then adjust its colors and vibrance to match the photo it’s inserted into. Then you’d apply more advanced edits, like adding shadows and whatnot to make it seem realistic. It worked, but it consumed too much time and energy.
The new Harmonize tool makes it possible for newbies to come up with similar results, without the user needing to manually do all the advanced steps. When inserting an object, you can remove its background with a single click, then have the AI-powered Harmonize tool fix the lighting, shadows, and colors.
<figure class="wp-block-jetpack-image-compare">
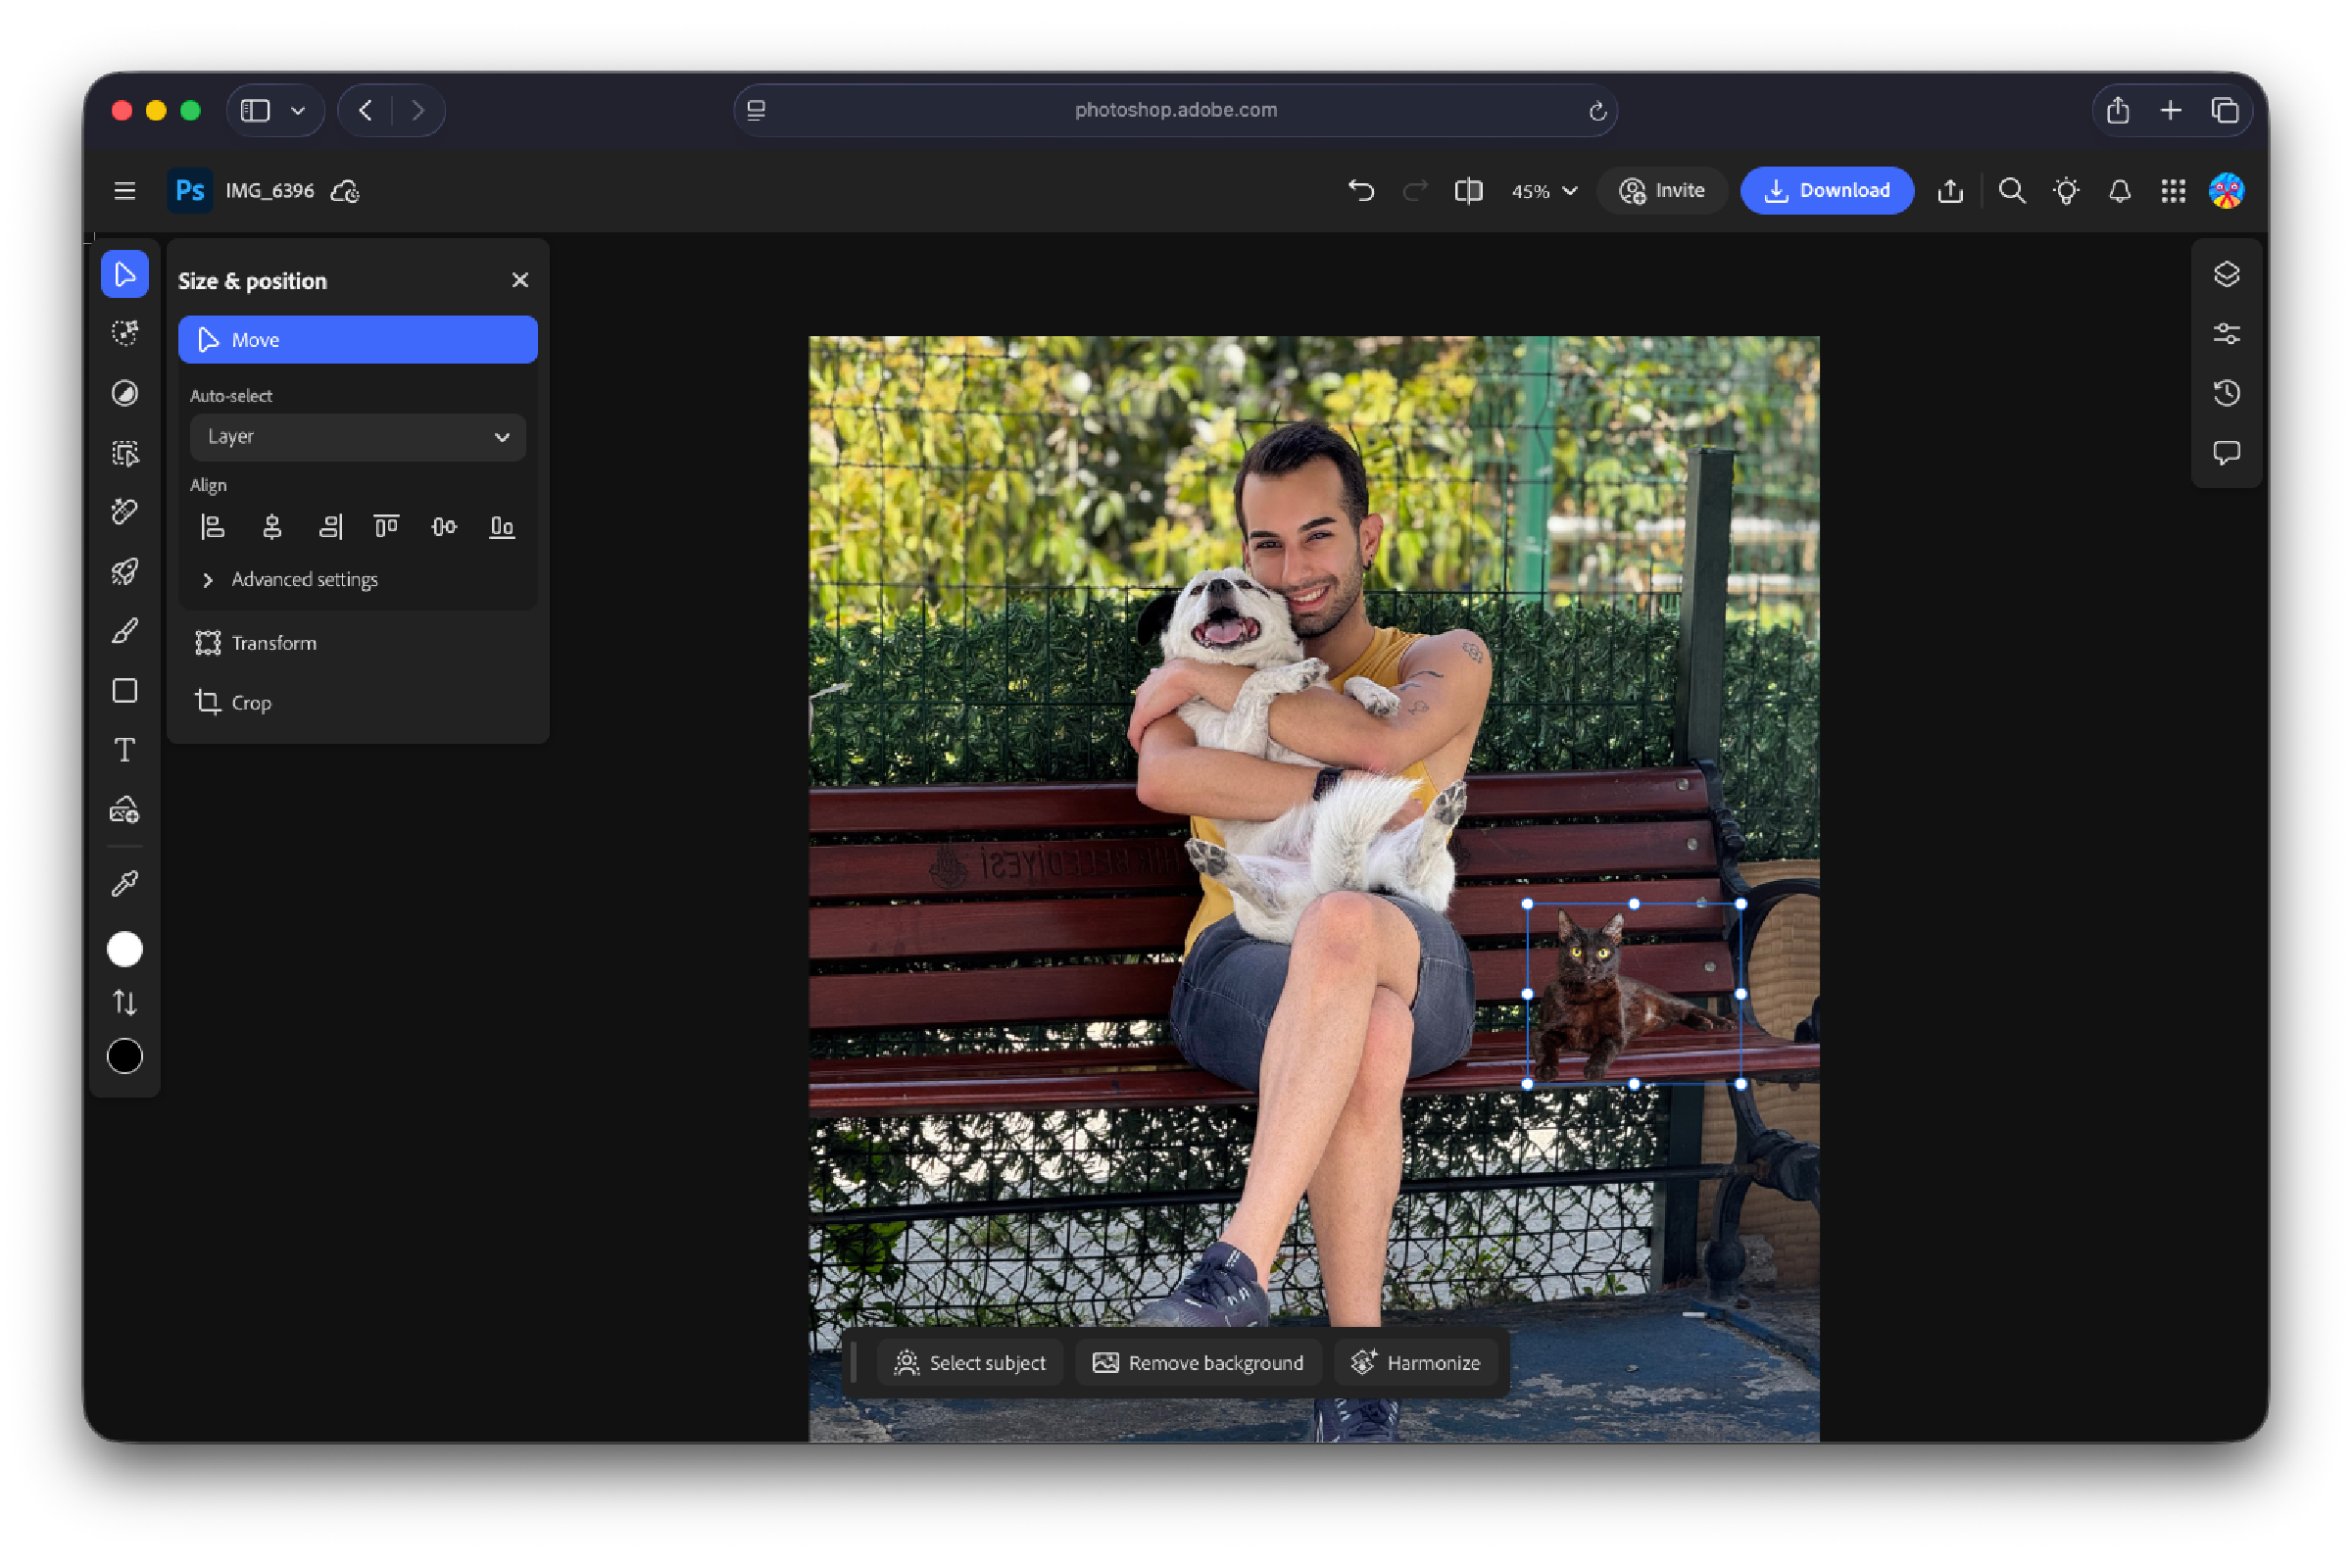

I tried Harmonize with multiple photos with different objects, environments, and color palettes. For example, I inserted a strawberry on a reflective table, and the AI feature accurately replicated the fruit’s reflection on the surface and minimized its glow due to the dim setting. Similarly, I inserted a tennis ball on a sunny field, and Harmonize was able to analyze the scene and fix the brightness and shadows as needed. Other tests included adding cats to different photos, and each Harmonize edit would uniquely adapt to the specific photo to help the feline blend in.
Whenever I’d use Harmonize, Photoshop would generate three results to pick from. Typically, at least one of them would be usable. If not, you could always have Harmonize generate more iterations, as long as you have enough Adobe Firefly credits (sold separately).
Photoshop Generative Upscale
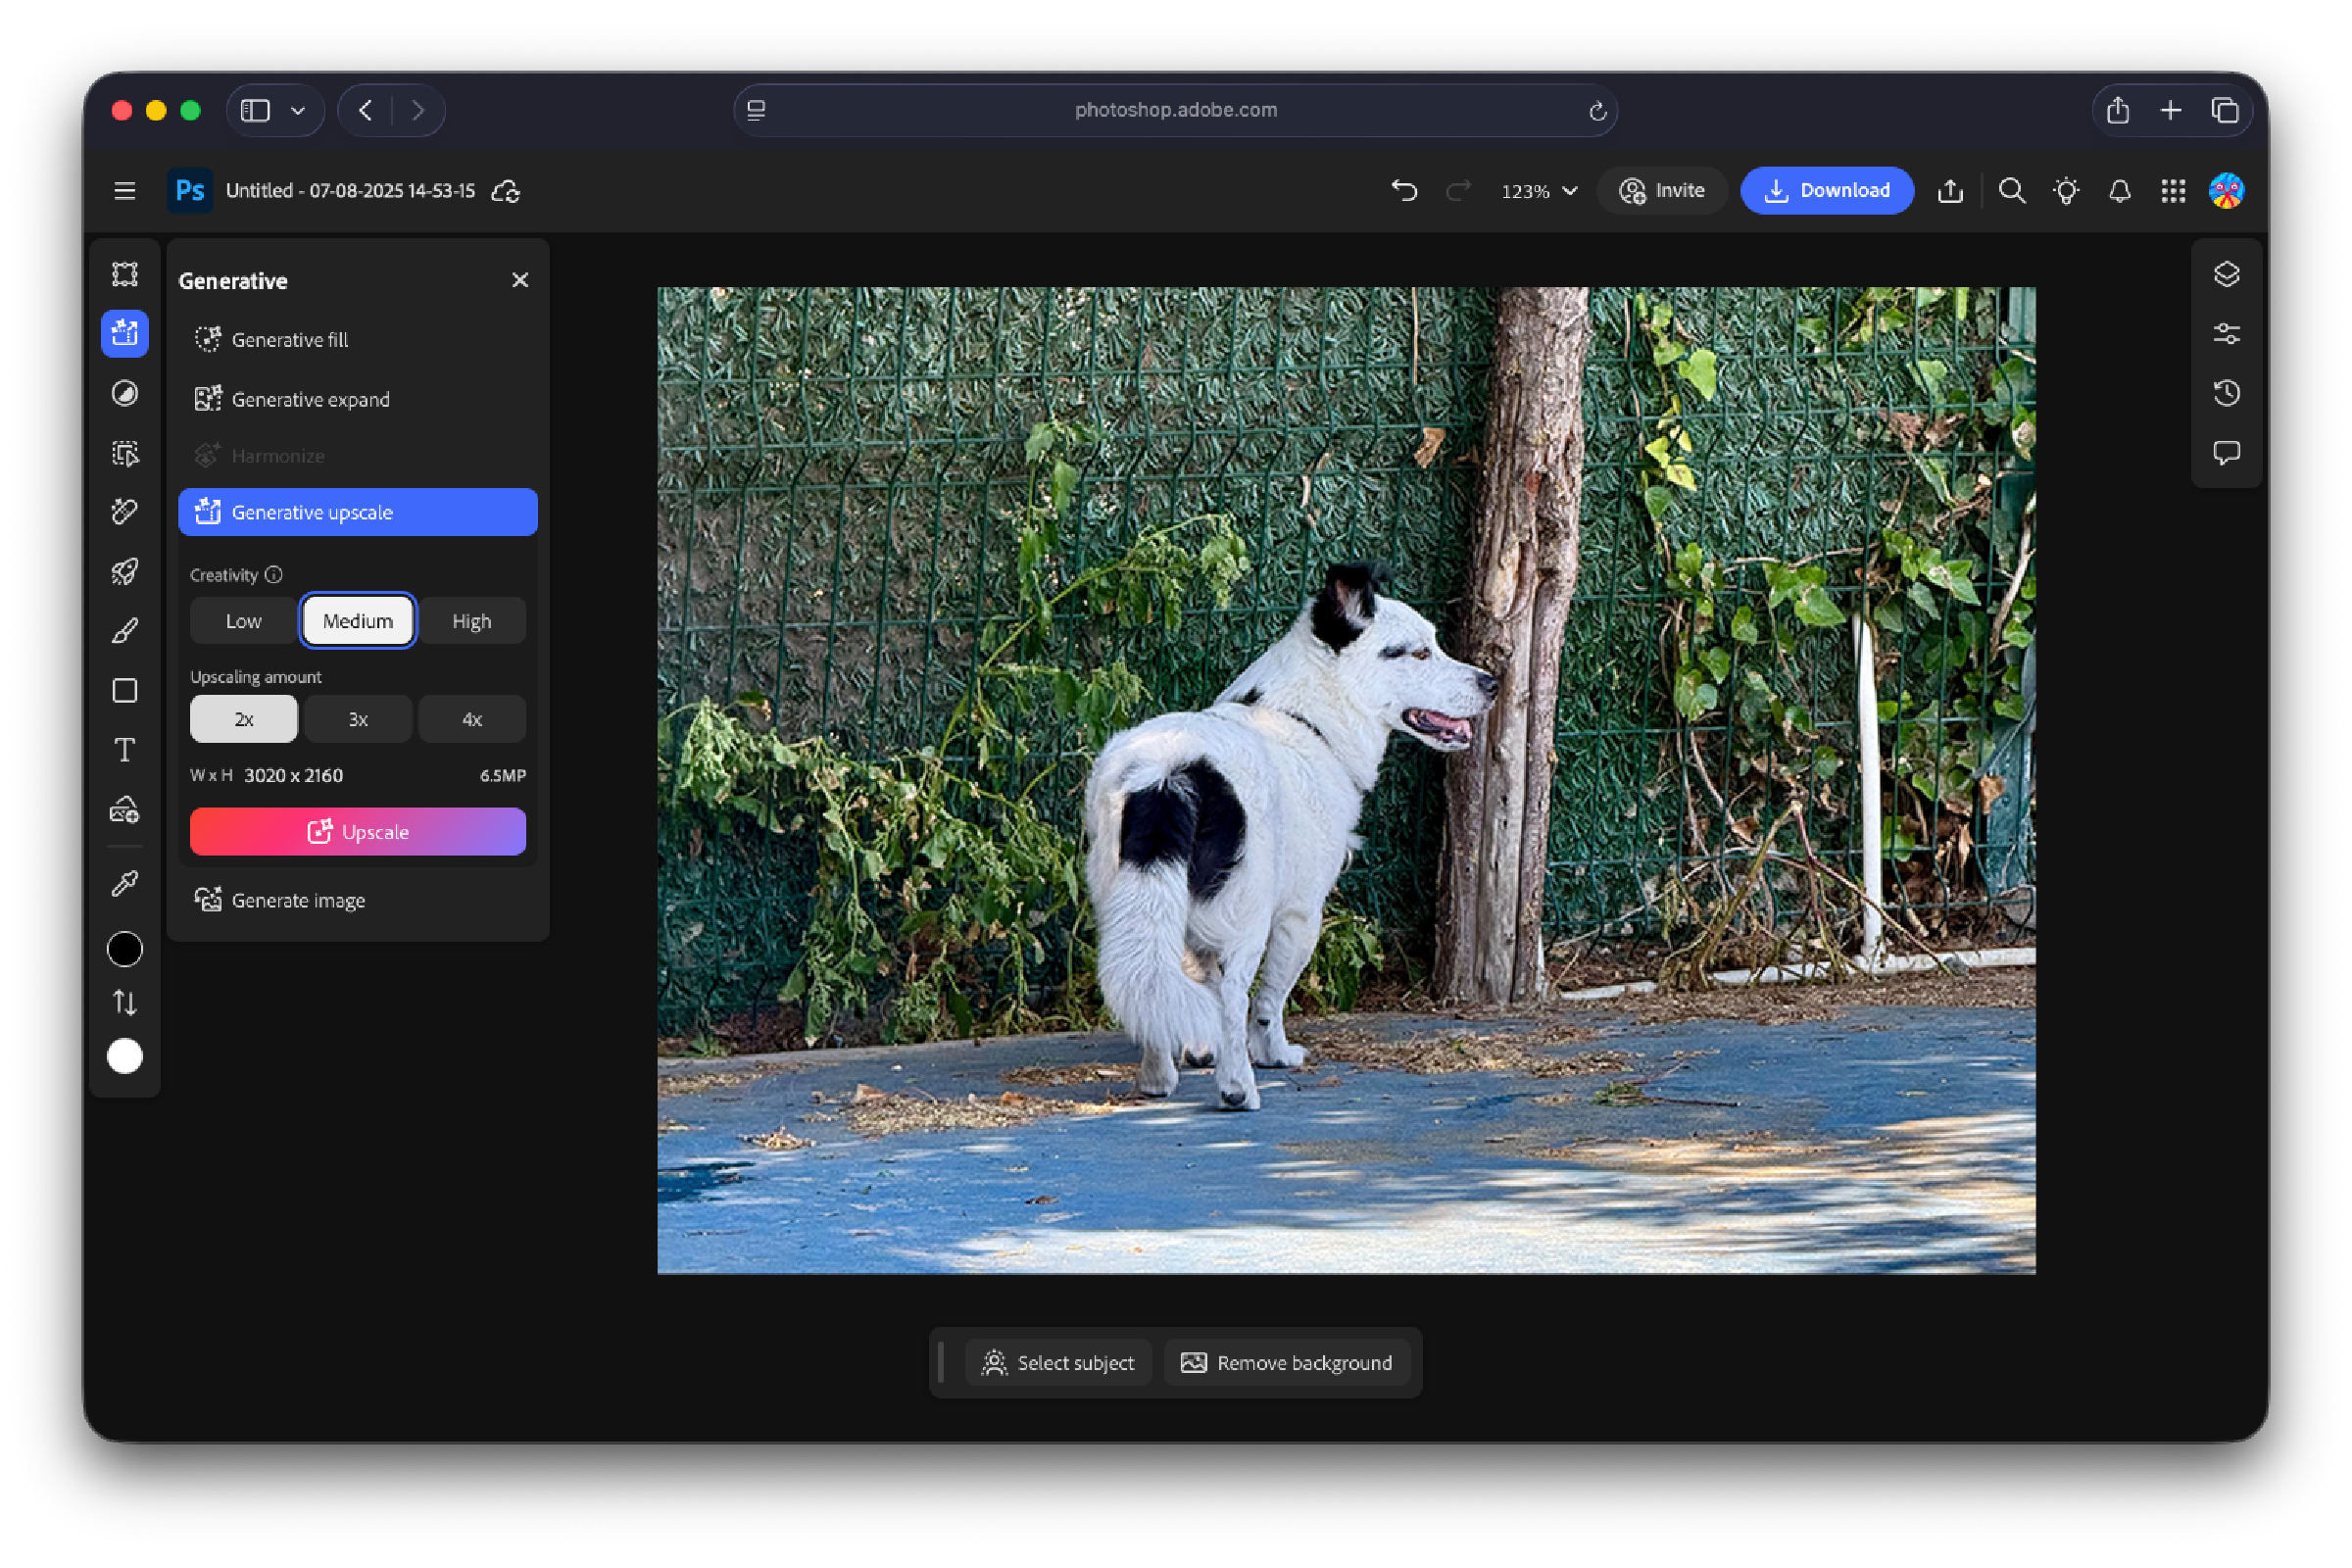
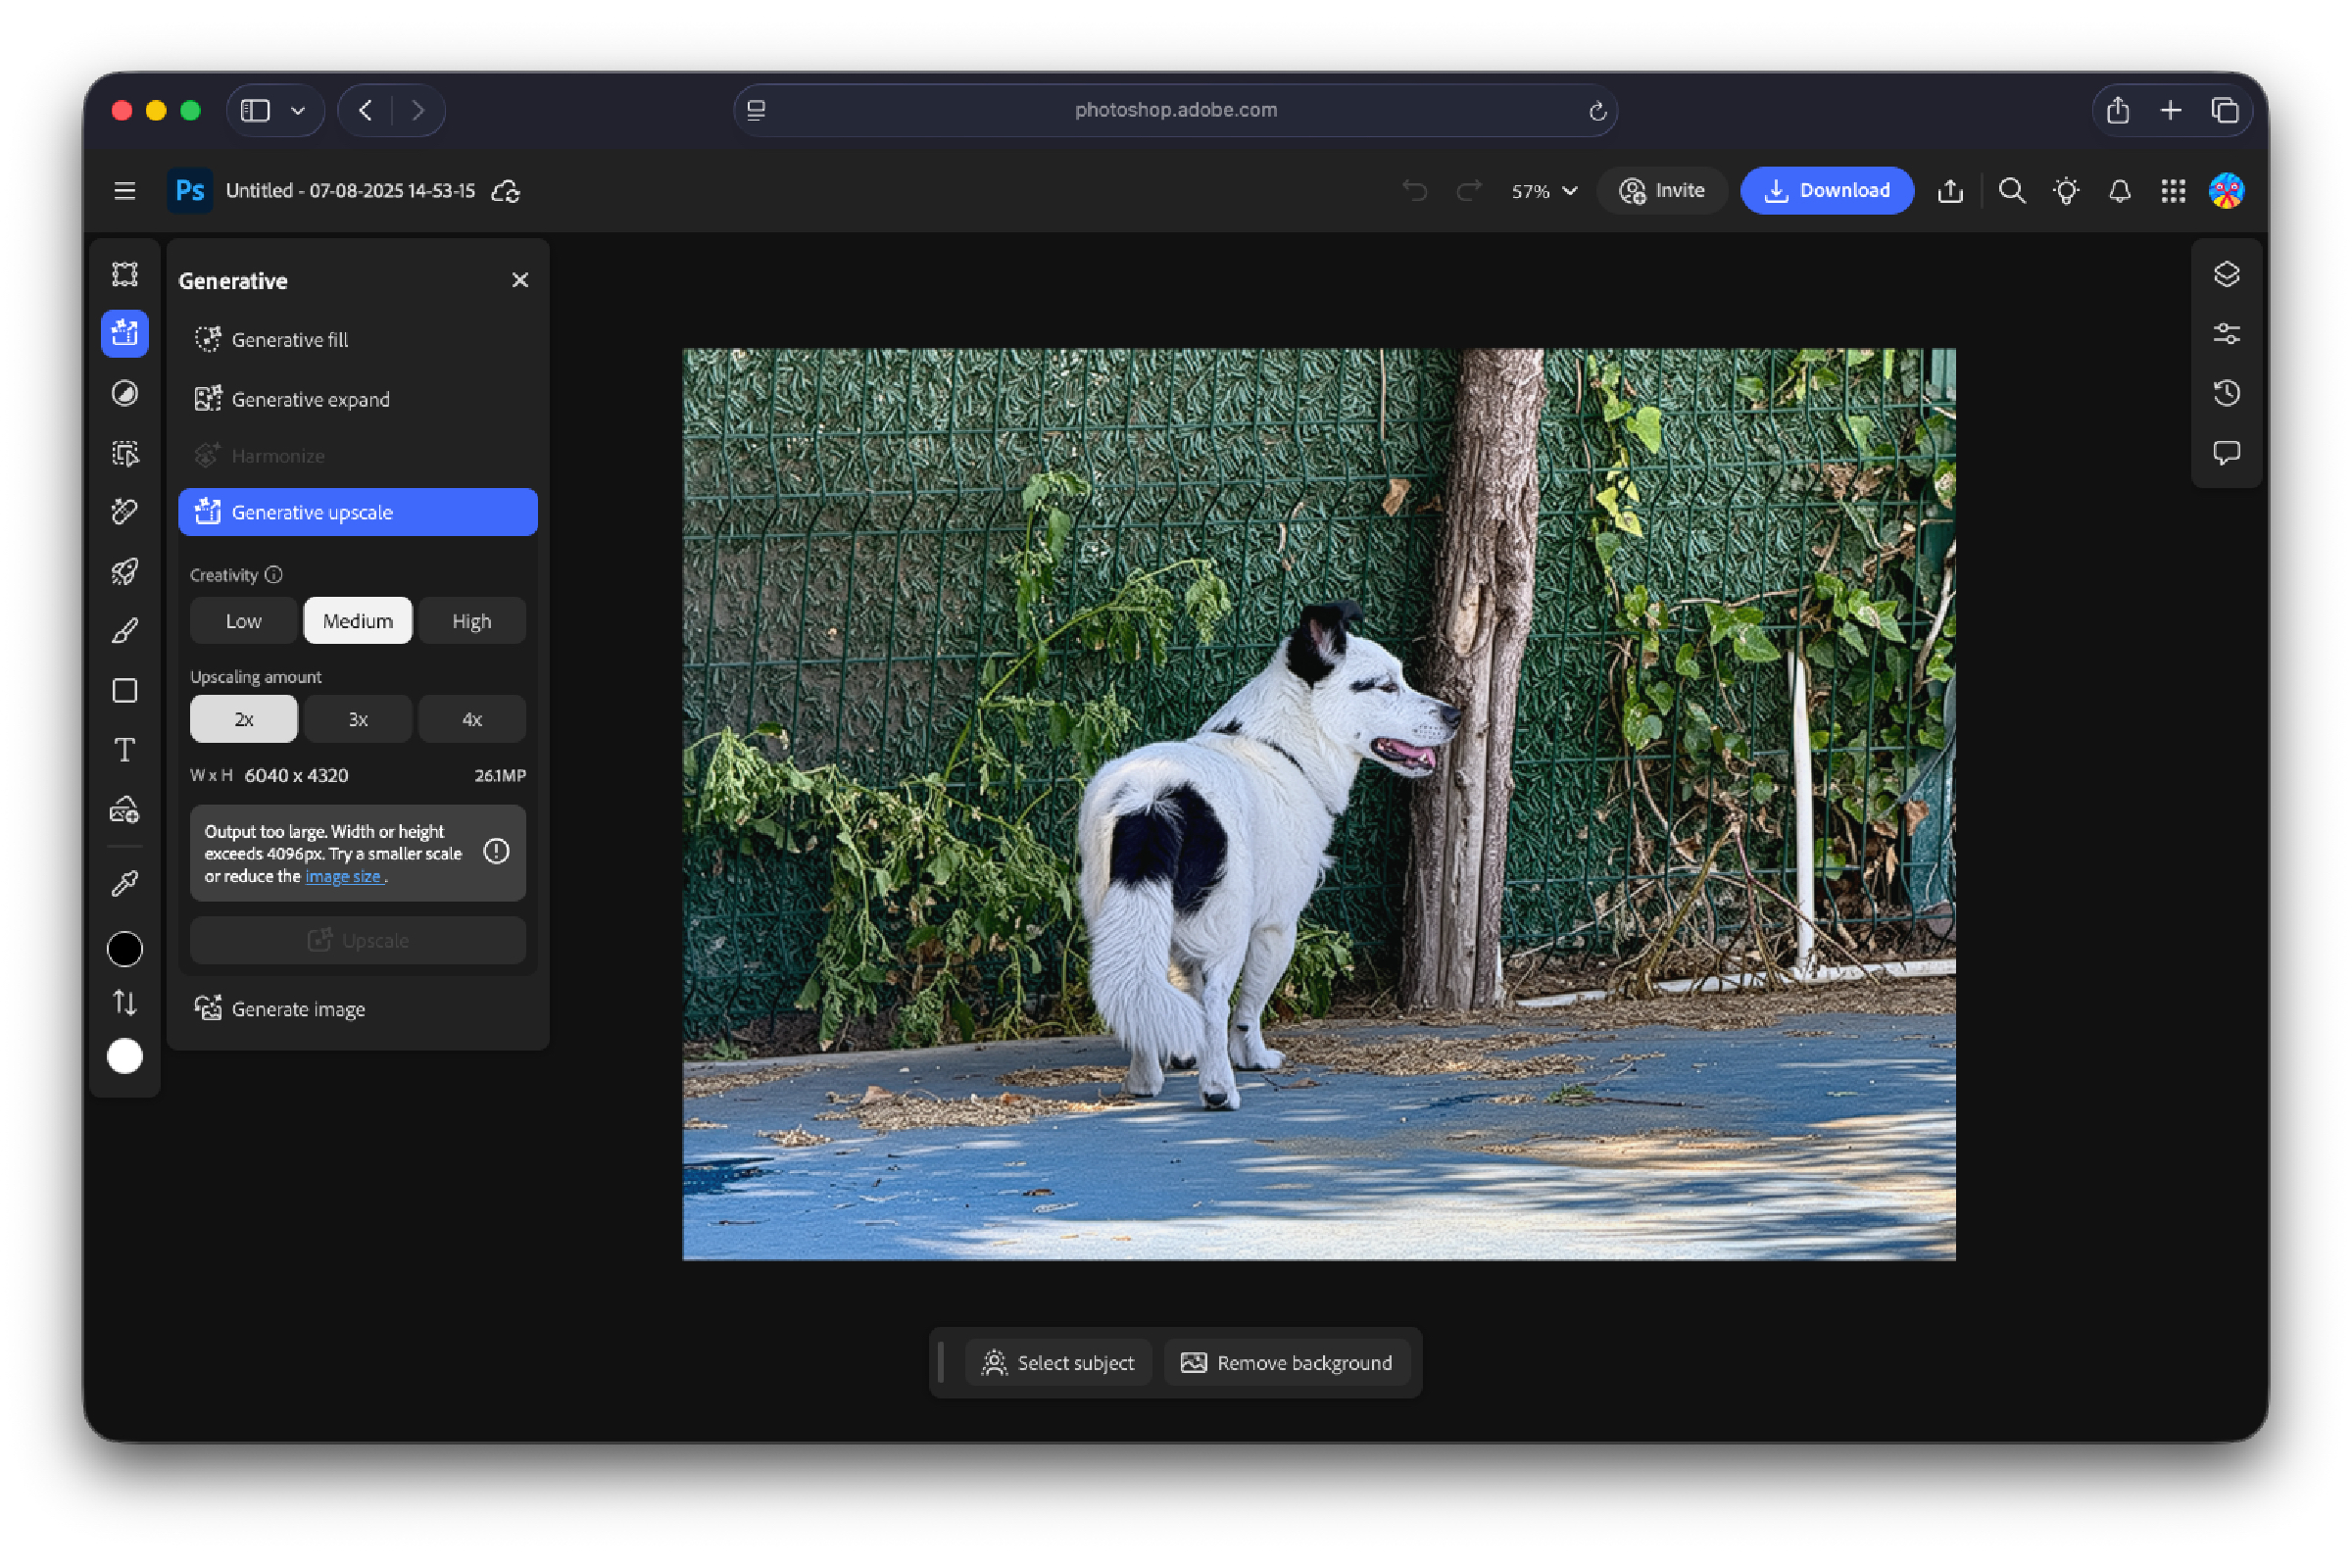
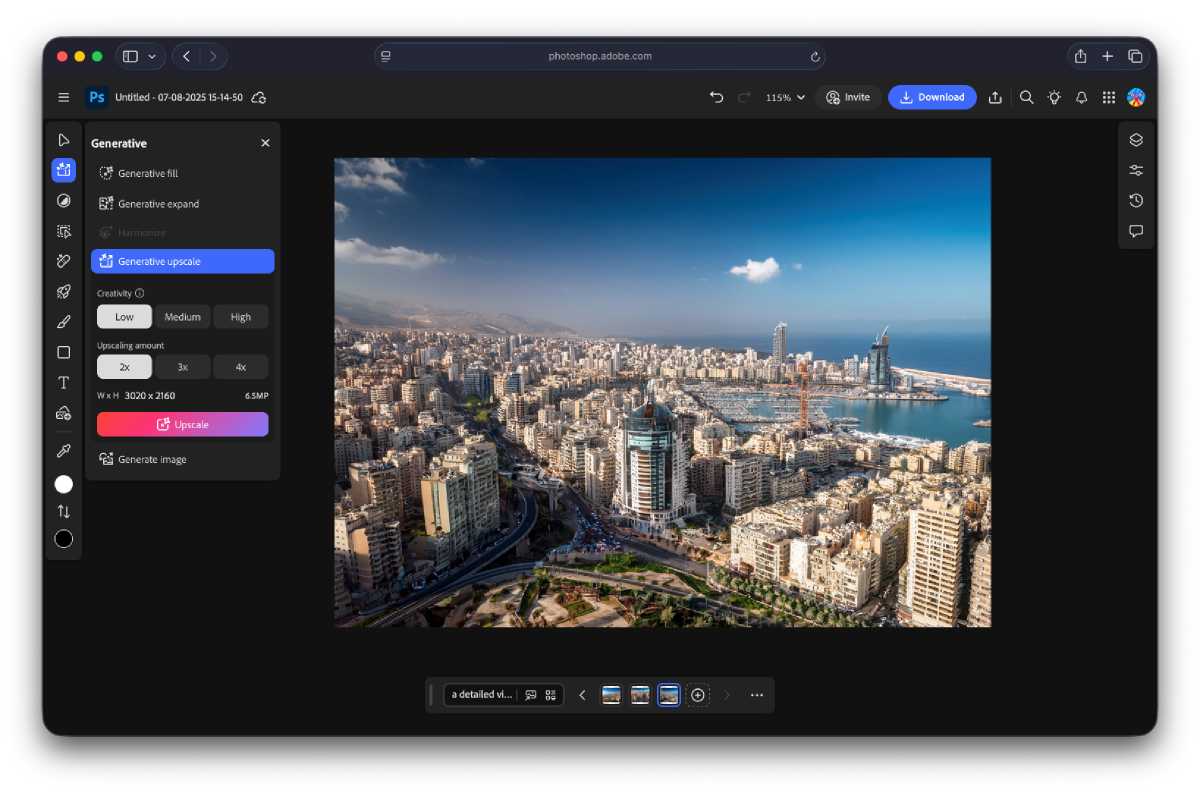
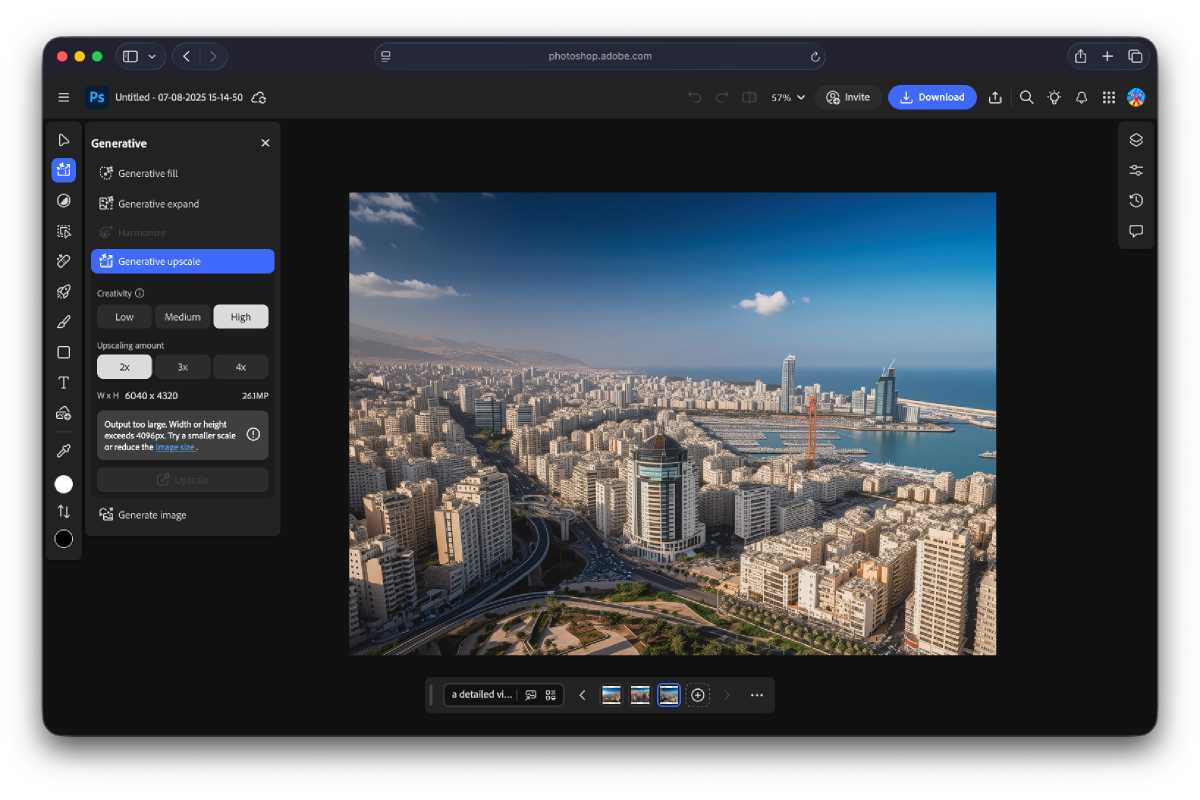
Another new AI feature is Generative Upscale, which lets Photoshop users depixelate low-resolution shots. The tool restricts the output’s width or height to a maximum of 4096 pixels. Depending on the existing resolution, you can opt for 2x, 3x, or 4x upscaling. You can also pick how creative the AI can get with the generation.
I tried this feature with multiple images, and the results were impressively accurate. For example, the tool was able to effectively polish a pixelated, zoomed-in photo of my dog and his surroundings. In none of my tests did it hallucinate or create strange results. This makes it ideal for working with media photographed using old equipment.
<figure class="wp-block-jetpack-image-compare">
Photoshop Object removing tool
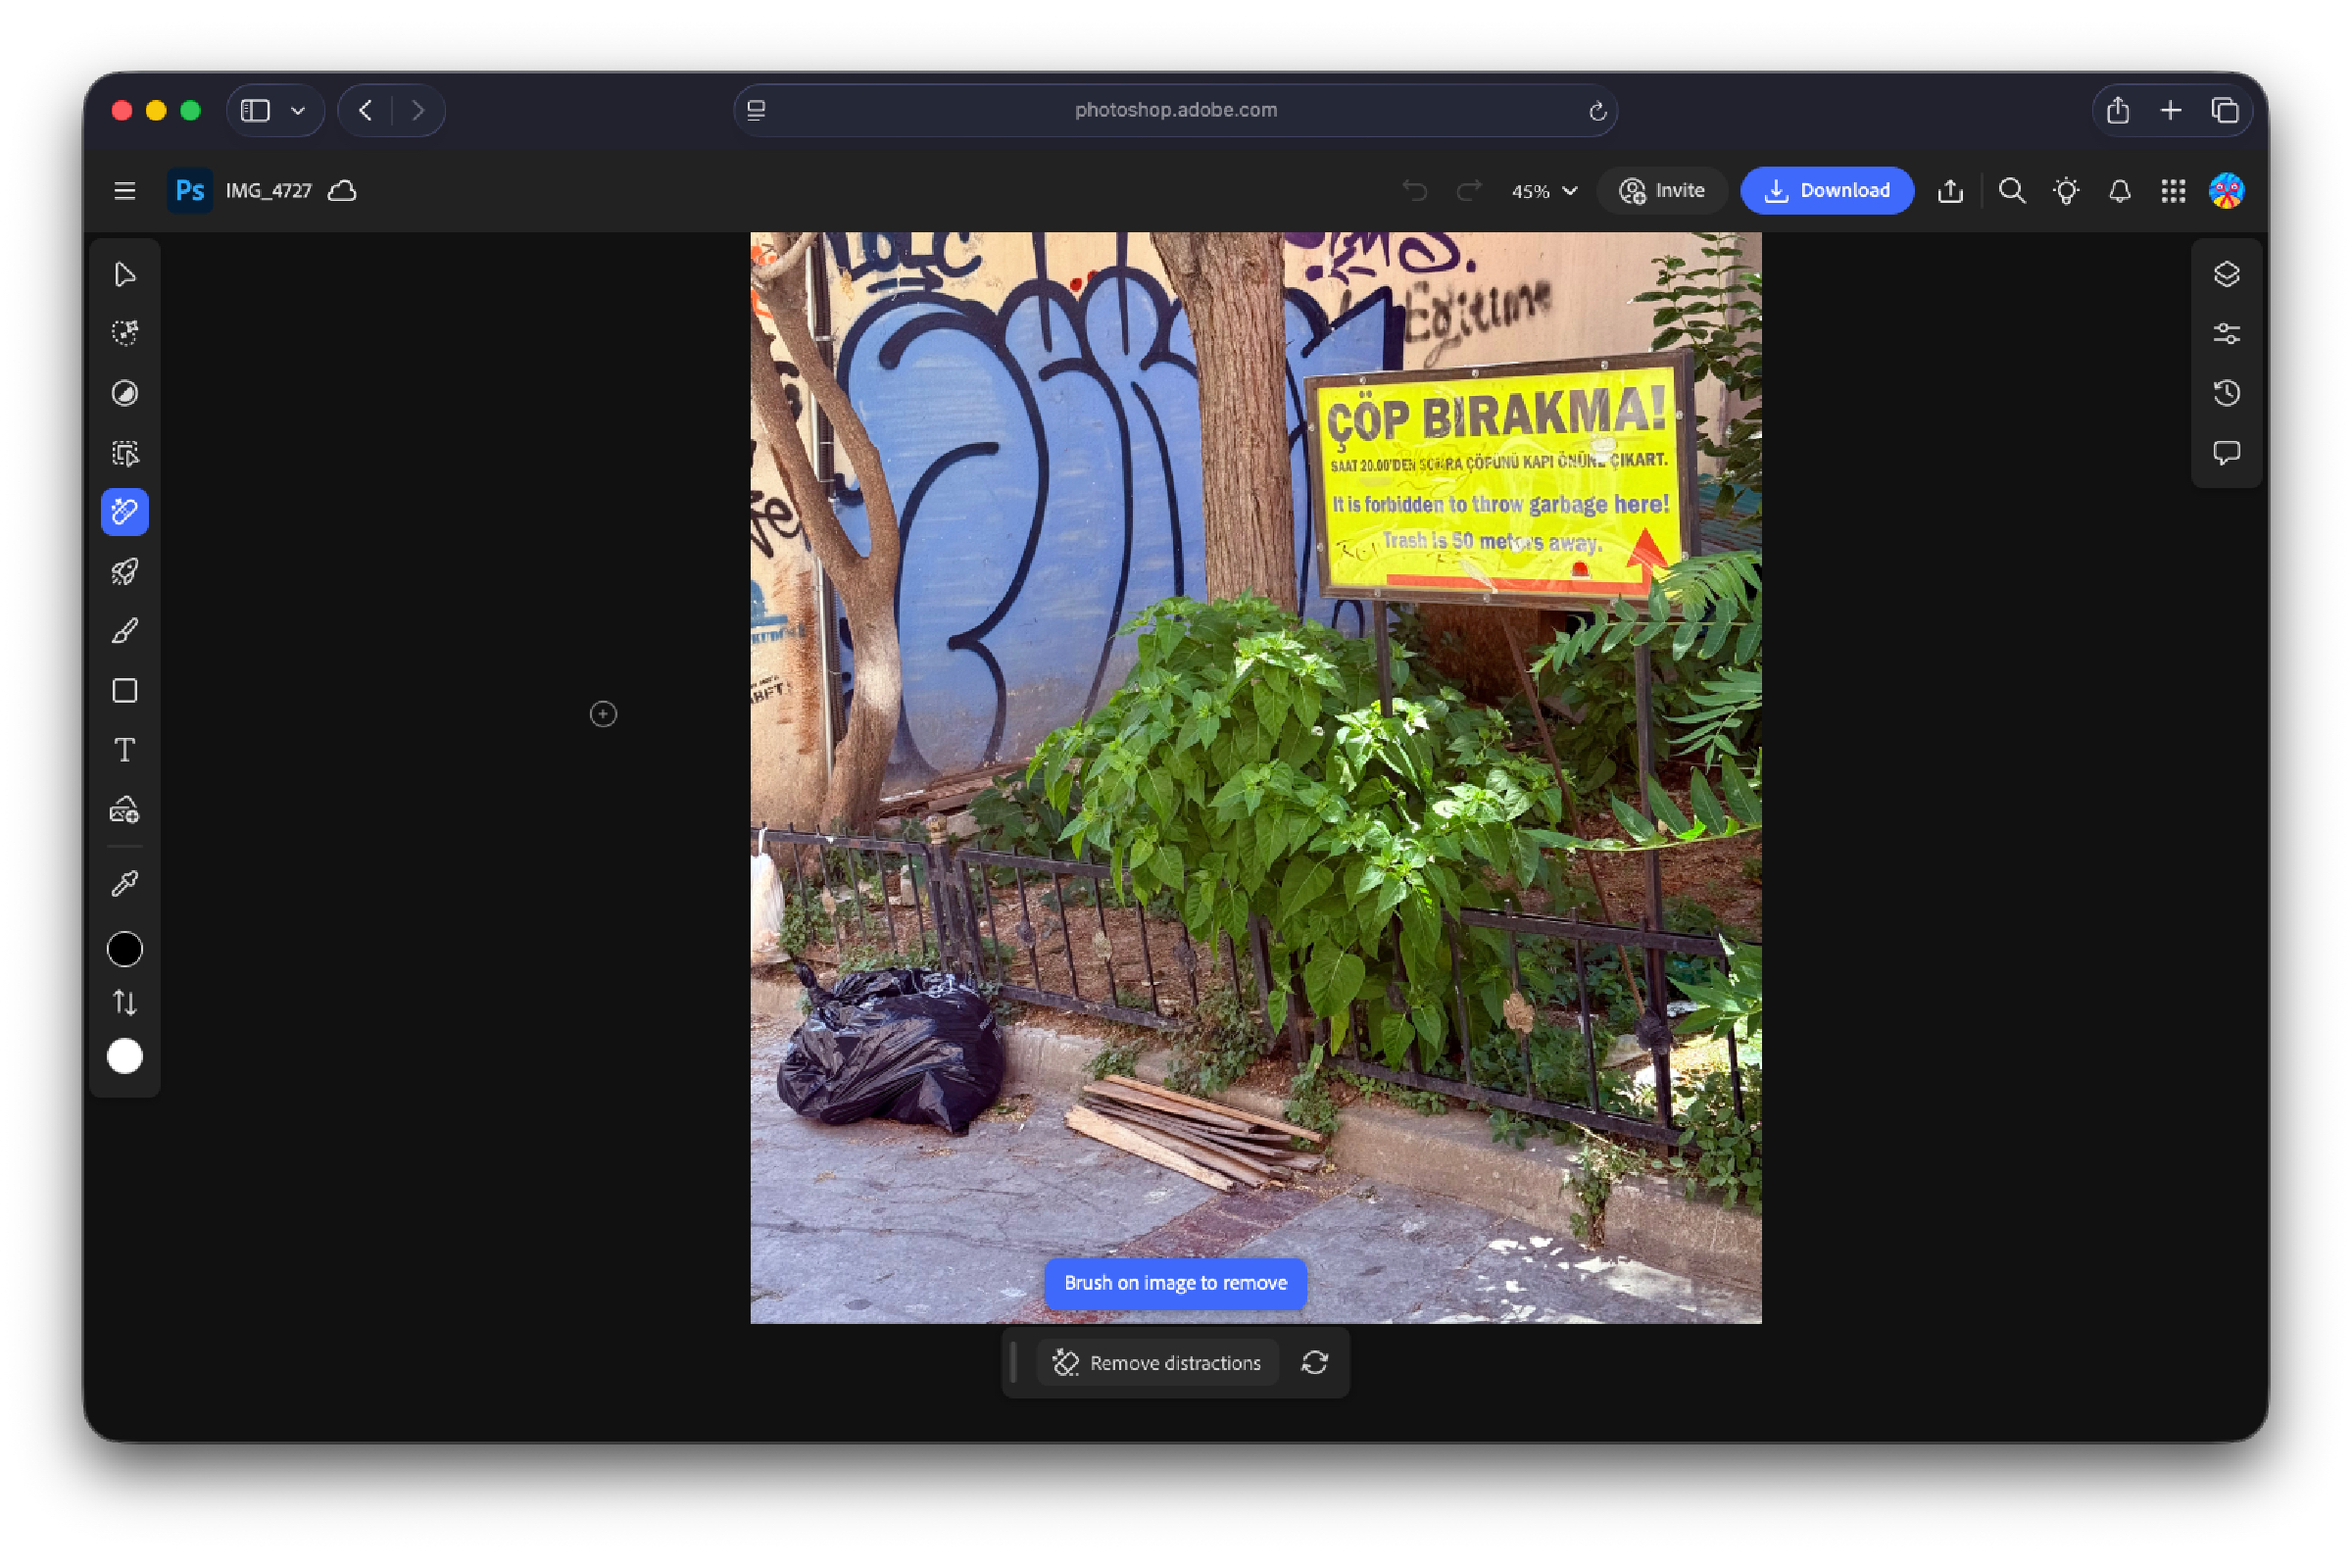
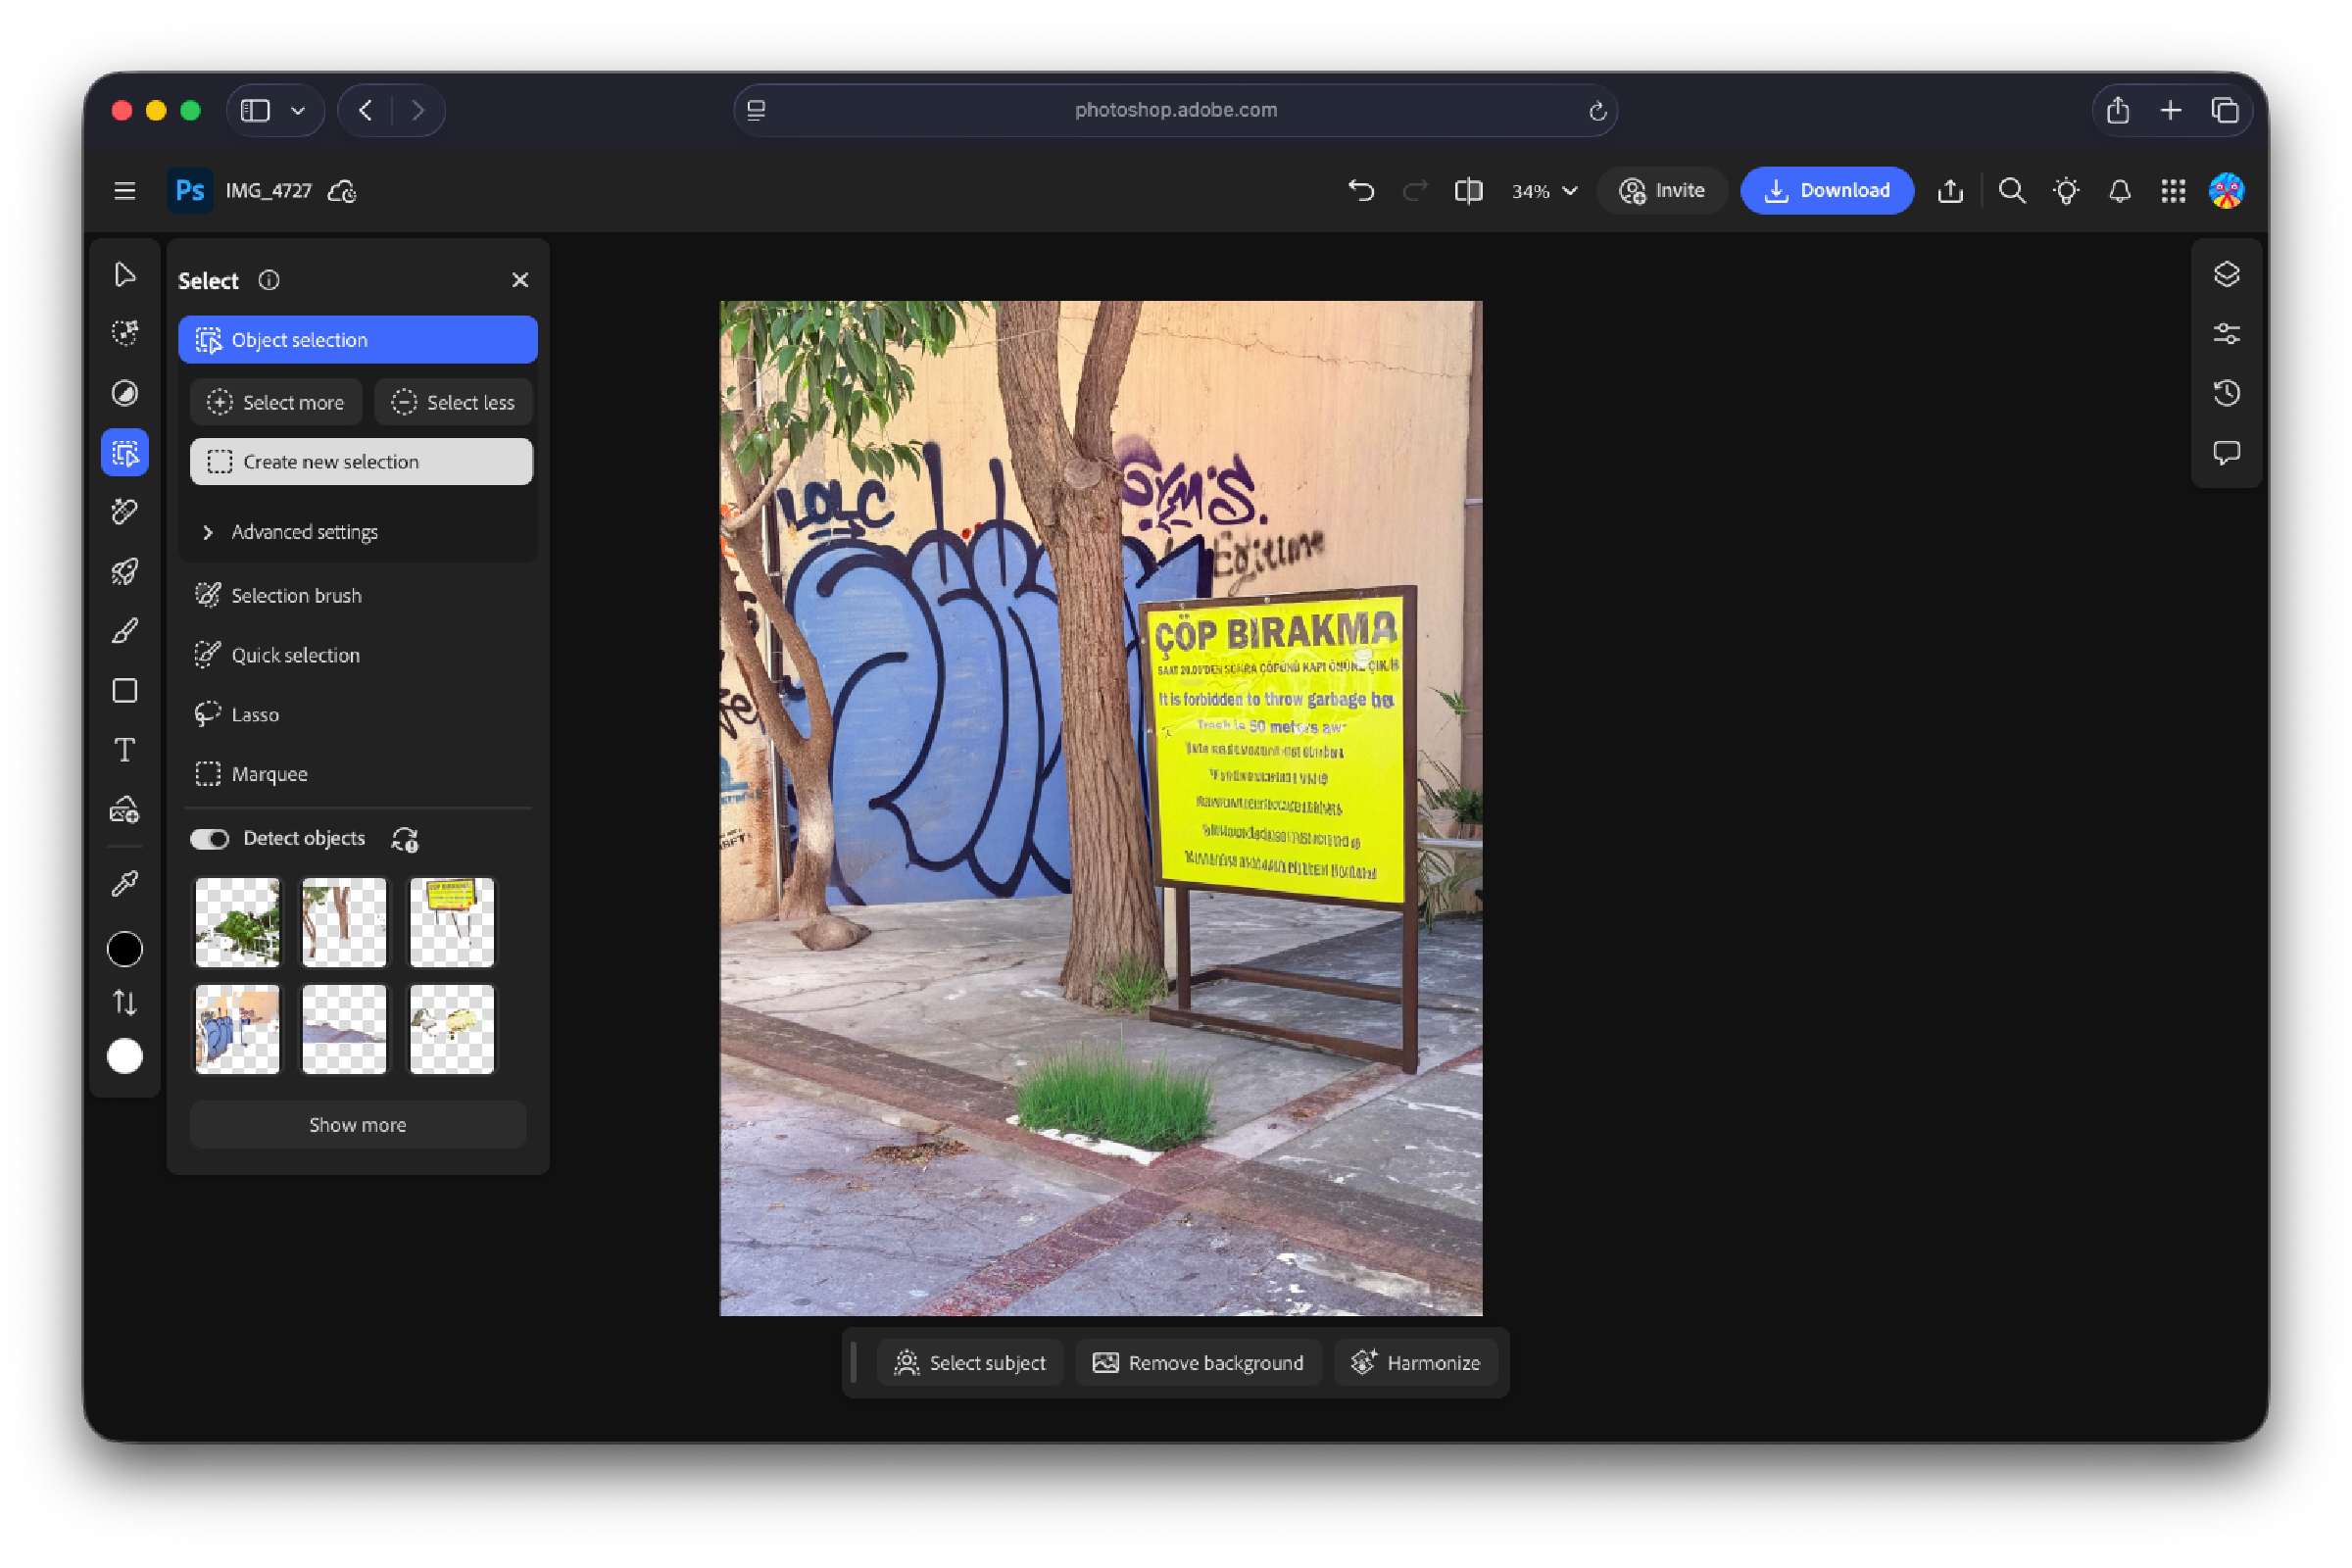
Photoshop introduced an upgraded eraser that supposedly removes intrusive objects with more accuracy. When selecting and removing small items, the tool was generally able to fill the gaps with convincing graphics. If you zoom in or stare for too long, you’d probably be able to identify the AI-generated fill, but that’s also the case with most object erasers.
Things get trickier when dealing with complex backgrounds and attempting to delete larger objects. For example, the AI-powered tool effectively removed the smaller trash bags from the image. However, when I tried to remove the plants and metallic rail, you could obviously tell that it’s AI-generated. The most noticeable flaws were the gibberish text it added and the random glitch behind the sign. Otherwise, the graffiti on the wall was expanded realistically, and the overall location maintained its style and vibe.
<figure class="wp-block-jetpack-image-compare">
Use them together, and what do you get?
To push these tools to their limits, I applied all of these new AI features on a single Photoshop canvas. I used AI to create an image, did some fine-tuning, and added elements. Here’s a look at what I did. Click the images to see a larger version and get a better look.
Start from scratch
 <button class="lightbox-trigger" type="button">
<svg fill="none" height="12" viewBox="0 0 12 12" width="12" xmlns="http://www.w3.org/2000/svg">
<path d="M2 0a2 2 0 0 0-2 2v2h1.5V2a.5.5 0 0 1 .5-.5h2V0H2Zm2 10.5H2a.5.5 0 0 1-.5-.5V8H0v2a2 2 0 0 0 2 2h2v-1.5ZM8 12v-1.5h2a.5.5 0 0 0 .5-.5V8H12v2a2 2 0 0 1-2 2H8Zm2-12a2 2 0 0 1 2 2v2h-1.5V2a.5.5 0 0 0-.5-.5H8V0h2Z" fill="#fff"></path>
</svg>
</button></figure>
Mahmoud Itani/Foundry
I started from scratch and generated an image of Beirut using a basic text prompt. While the view did accurately portray the city and the sky looked genuine, the buildings were nightmarish.
Generative Upscale to improve clarity
 <button class="lightbox-trigger" type="button">
<svg fill="none" height="12" viewBox="0 0 12 12" width="12" xmlns="http://www.w3.org/2000/svg">
<path d="M2 0a2 2 0 0 0-2 2v2h1.5V2a.5.5 0 0 1 .5-.5h2V0H2Zm2 10.5H2a.5.5 0 0 1-.5-.5V8H0v2a2 2 0 0 0 2 2h2v-1.5ZM8 12v-1.5h2a.5.5 0 0 0 .5-.5V8H12v2a2 2 0 0 1-2 2H8Zm2-12a2 2 0 0 1 2 2v2h-1.5V2a.5.5 0 0 0-.5-.5H8V0h2Z" fill="#fff"></path>
</svg>
</button></figure>
Mahmoud Itani/Foundry
<div class="wp-block-idg-base-theme-how-


 United States
