


Up Up Down Down Left Right Left Right B A Start
Description
Up Up Down Down Left Right Left Right B A Start. Dan’s MEGA65 Digest for October 2024.
<figure>
<figcaption>
Up Up Down Down Left Right Left Right B A Start.
</figcaption>
</figure>
<figure>

<figcaption>
The Atari CX40 joystick.
</figcaption>
</figure>
Everyone who owned a Commodore 64 had at least one joystick, a game controller consisting of a lever that could be pushed in eight directions and a single action button. Games based on this controller typically involved the player using the stick to move an avatar—a spaceship, a person, a creature—as well as pushing the action button to activate a weapon against some enemies. The button on this kind of joystick was almost universally referred to as the “fire” button for how often it was used to launch missiles or shoot bullets.
Then came the Nintendo Entertainment System with its gamepad controller, a plastic rectangle with a directional thumb pad, two action buttons, and two more business-like buttons intended for pausing the game and accessing menus. NES games, especially Super Mario Bros. and The Legend of Zelda, popularized a new game design language based on the two action buttons. While Mario-like platform games were made for the C64 and its one-button joystick, expecting the player to shove the joystick forward (“up”) to jump, every generation of gamers that followed the NES expected to be able to jump in a platform game by pressing one of the two action buttons.
The vast majority of C64 games used the one-button joystick protocol. But there have been several attempts, both vintage and modern, to bring multi-button gaming to the C64, and to other computers with 9-pin joystick ports. This is of particular interest to modern retro game developers who want to use multi-button game design conventions while coding for the C64 and MEGA65.
In this Digest, we’ll explore a bit of the history of 9-pin game controllers, and investigate several methods used to implement multi-button schemes. We’ll look at the fundamentals of game controller electronics, and game controller programming. We’ll also take a closer look at several modern game controllers and controller adapters you can buy today for your MEGA65.
But first news!
More MEGA65 parts available separately
<figure>
<figcaption>
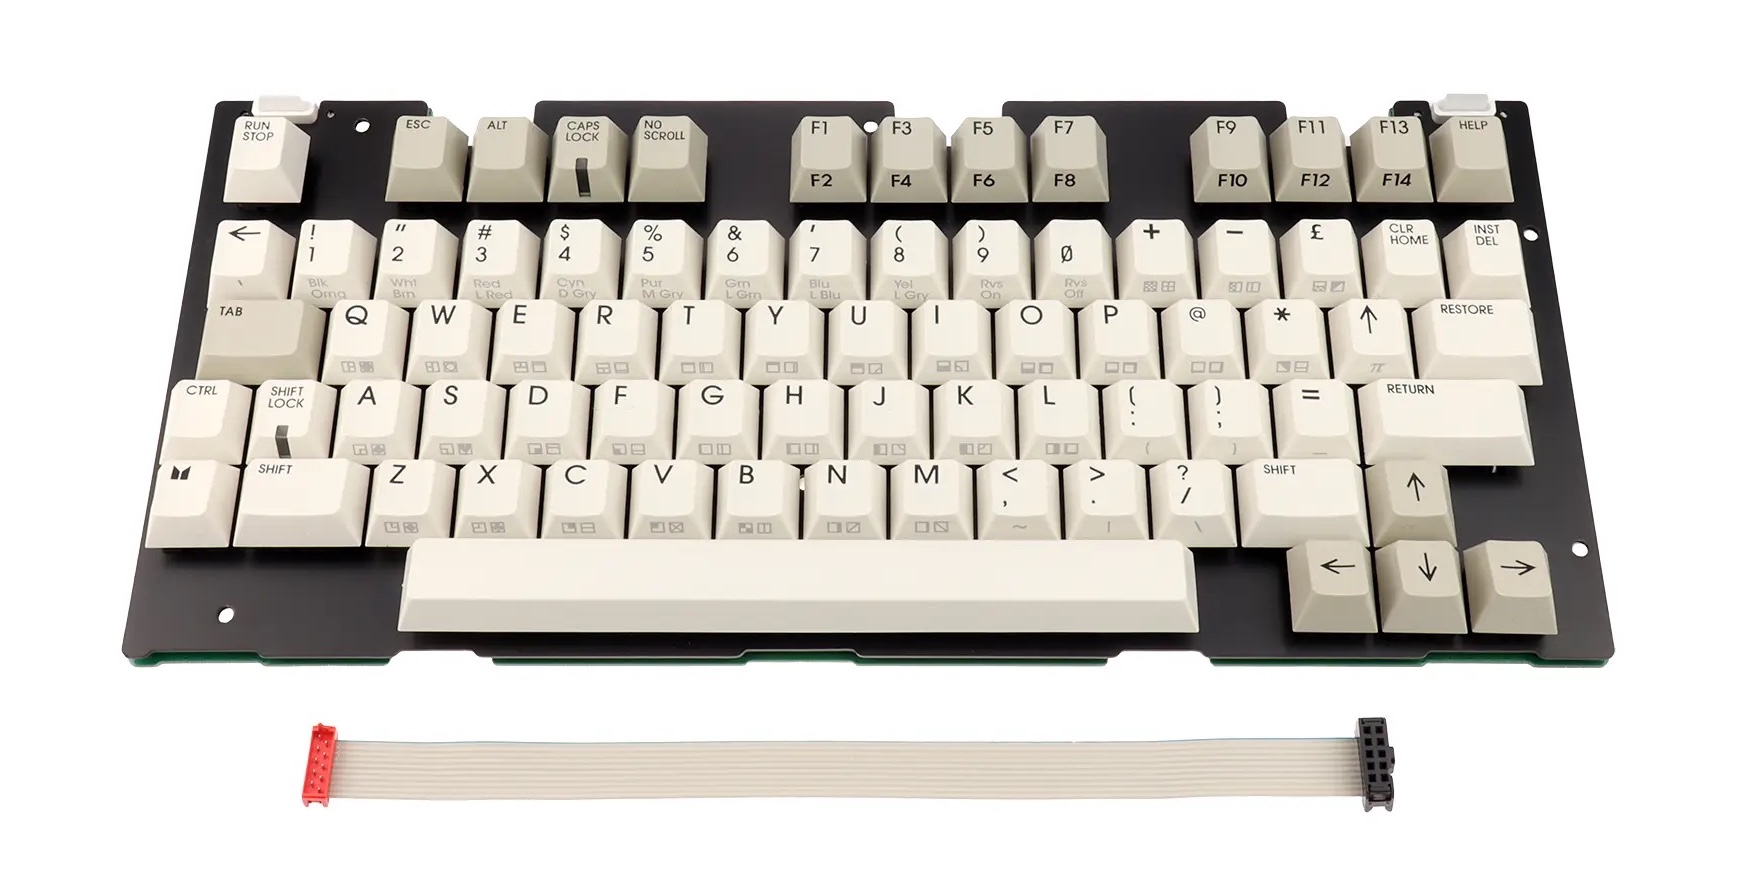
MEGA65 replacement keyboard, one of several MEGA65 parts now available separately.
</figcaption>
</figure>
Last month, we noticed that Trenz Electronic is now making the MEGA65 mainboard available for preorder as a standalone part. Trenz has since added more MEGA65 parts to their store: the MEGA65 keyboard, the plastic case, the floppy drive, and the power supply. The keyboard is a sophisticated part, including the mechanical key switches, keycaps, cable, metal frame, and LEDs. The case includes other plastic bits such as the ALPS floppy drive eject button and reset button cap. You could, in theory, assemble a full MEGA65 from the spare parts available.
Math wizards may notice that the cost of the parts all together add up to more than the cost of a complete MEGA65. I can’t speak for Trenz, but this jibes with my limited understanding of the microeconomics of short-run niche electronics. Without economies of scale, Trenz has to account for labor, logistics, and potential lossage to support the individual items, even when pulling from the same stock they use to assemble full units. As deft puts it, “Imagine buying a car one piece at a time.”
I’m grateful that they’re making these available, so we have potential replacement parts, as well as options for other projects.
“Should I upgrade my mainboard?”
Did you receive your MEGA65 in 2022, or buy it second-hand from someone who did? Then your computer has the revision 3 (R3) mainboard. Starting in 2024, Trenz Electronic began shipping MEGA65s with the revision 6 (R6) mainboard, which has several changes from R3. If you’re unsure which MEGA65 mainboard you have, you can double-check which one you have in the MegaInfo panel: open the Freezer (hold Restore for one second, then release), then press <kbd>Help</kbd>. It’ll say which one you have next to “MEGA65 Model.”
Should owners of the R3 board upgrade to the R6? Probably not. It is unlikely that a difference between the R3 and R6 mainboards would be worth the cost of a new mainboard to most R3 owners. The differences may not even be noticeable.
There are a few notable categories of changes between the R3 and R6 boards: bidirectional cartridge and joystick I/O lines, an added SDRAM chip, and electrical fixes.
Bidirectional cartridge lines. The original R3 mainboard supports the vast majority of cartridges made for the Commodore 64, which provide program data as input to the computer. It will also support cartridges made for the MEGA65 in the future. The cartridge port changes in the R6 board apply to a few electronically fancy cartridges that communicate with the computer using both input and output. For example, the MSSIAH MIDI interface cartridge works with the C64 core, and requires the R6 mainboard. EasyFlash 3 is also known to require the R6. Notably, an EasyFlash 1 cartridge can be both read from and written to by an R3 MEGA65. That’s how we’ve been testing the MEGA65 cartridge protocol.
Bidirectional joystick port lines. The original R3 mainboard also supports the vast majority of game controller peripherals for the C64, which provide input to the computer about how the user is manipulating the controller. A few unusual peripheral designs use the data lines for both input and output, to implement more buttons or other features with proprietary protocols. The R6 mainboard adds support for such protocols. See this month’s feature article for more on game controller protocols.
SDRAM chip. The R6 adds an SDRAM chip that is intended to broaden the possibilities for alternate FPGA cores. It is possible that someday there could exist an alternate core that requires the R6 and doesn’t run on the R3. Personally, I think it’s worth tempering these expectations. I’ve discussed this with a bunch of people familiar with MiSTer-style core development, and they have all estimated that the most compelling alternate cores for the MEGA65—including an Amiga core—should fit the original R3 board. There may never be an alternate core that requires the SDRAM, even though it was added for this purpose. No core exists today that requires an R6, and I’m not aware of anyone working on one.
Most importantly, the MEGA65 core does not use the new SDRAM component. All software written for the MEGA65 will run on both R3 and R6 mainboards, now and in the foreseeable future. There are no plans to treat the SDRAM chip as a memory expansion for the MEGA65.
Minor fixes. Lastly, the R6 board implements some minor fixes for known issues. If you are noticing these issues on an R3 board, you may be able to use inexpensive workarounds, such as an HDMI repeater or a replacement Real-Time Clock. If you’re not noticing these issues, you won’t notice the fixes with an upgrade. This category also includes a few changes to accommodate the availability of components; these changes don’t affect the functionality of the computer.
I know I’ve spent a lot of money over the years indulging my FOMO by buying hobby computers “just in case” I want them later, and it’d be hypocritical of me to say an R6 is not a worthy upgrade to an R3 when I own one of each. But given that a new mainboard is more than half the cost of a new MEGA65, it’s worth resisting the temptation to think other people have all of those things and you have none of them. Really, R3 and R6 are mostly identical.
Portland Retro Gaming Expo 2024
<figure>
<figcaption>
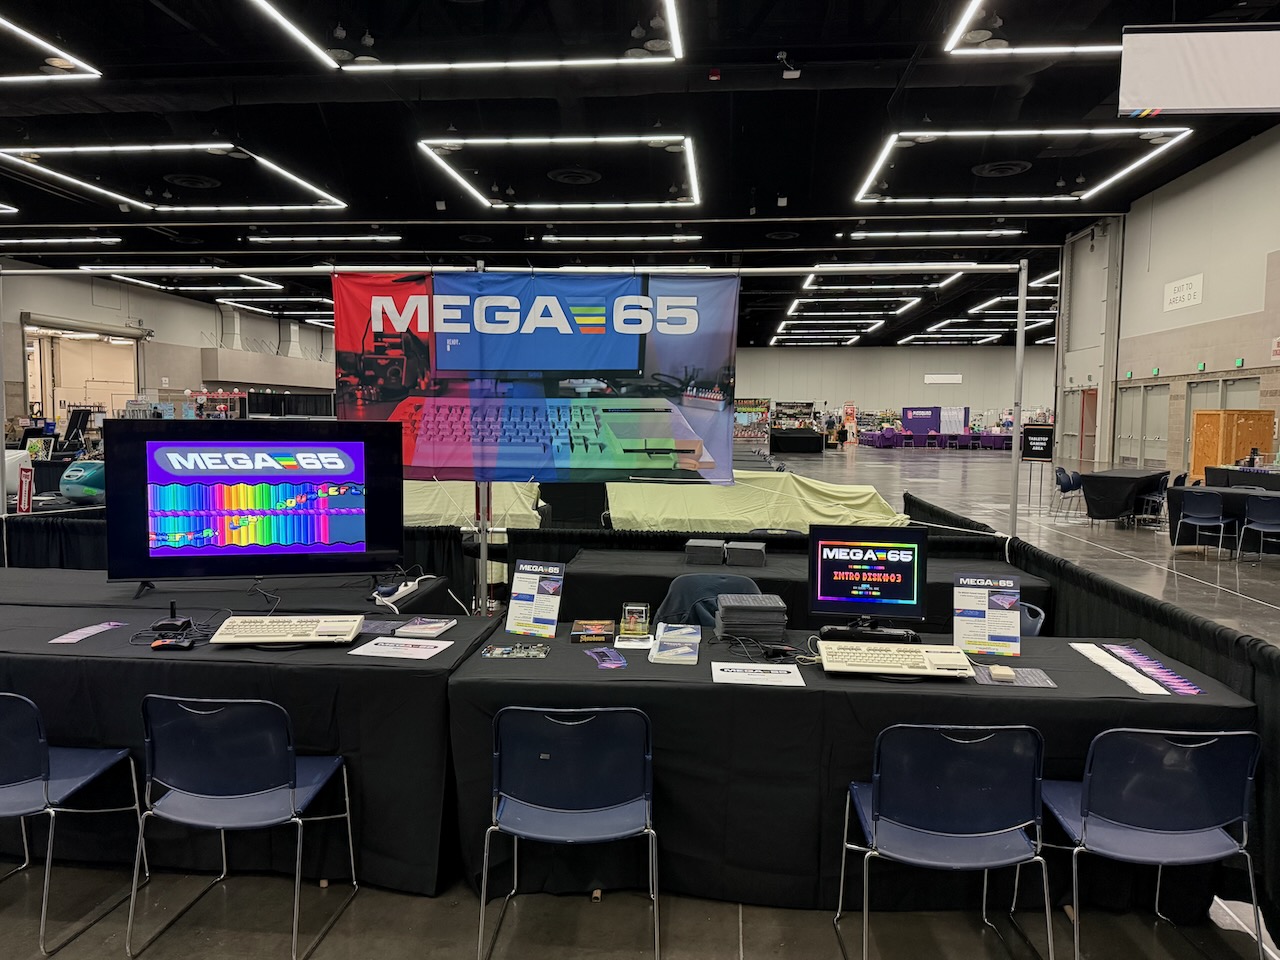
The MEGA65 at the Portland Retro Gaming Expo 2024, prior to opening.
</figcaption>
</figure>
I took the MEGA65 to the Portland Retro Gaming Expo in Portland,


 United States
