Quantum Code Isn’t Magic—It’s Debuggable
Description
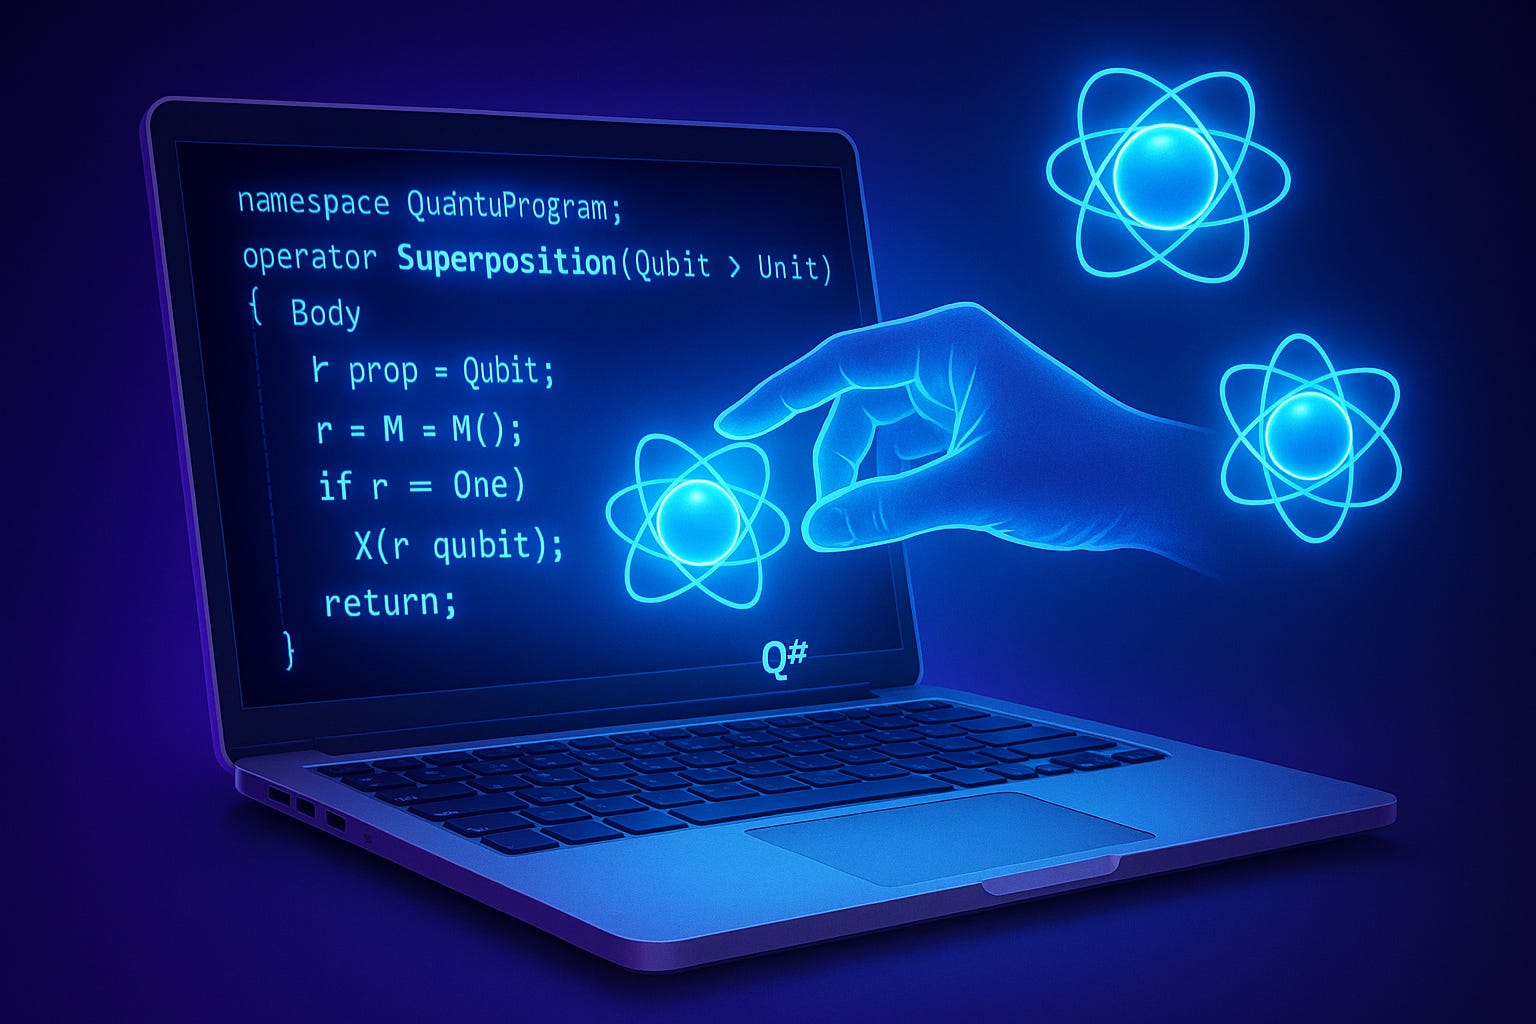
Quantum computing feels like something only physicists in lab coats deal with, right? But what if I told you that today, from your own laptop, you can actually write code in Q# and send it to a physical quantum computer in the cloud? By the end of this session, you’ll run a simple Q# program locally and submit that same job to a cloud quantum device. Microsoft offers Azure Quantum and the Q# language, and I’ll link the official docs in the description so you have up‑to‑date commands and version details. Debugging won’t feel like magic tricks either—it’s approachable, practical, and grounded in familiar patterns. And once you see how the code is structured, you may find it looks a lot more familiar than you expect.
Why Quantum Code Feels Familiar
When people first imagine quantum programming, they usually picture dense equations, impenetrable symbols, and pages of math that belong to physicists, not developers. Then you actually open up Q#, and the surprise hits—it doesn’t look foreign. Q# shares programming structures you already know: namespaces, operations, and types. You write functions, declare variables, and pass parameters much like you would in C# or Python. The entry point looks like code, not like physics homework. The comfort, however, hides an important difference. In classical programming, those variables hold integers, strings, or arrays. In Q#, they represent qubits—the smallest units of quantum information. That’s where familiar syntax collides with unfamiliar meaning. You may write something that feels normal on the surface, but the execution has nothing to do with the deterministic flow your past experience has trained you to expect. The easiest way to explain this difference is through a light switch. Traditional code is binary: it’s either fully on or fully off, one or zero. A qubit acts more like a dimmer switch—not locked at one end, but spanning many shades in between. Until you measure it, it lives in a probabilistic blend of outcomes. And when you apply Q# operations, you’re sliding that dimmer back and forth, not just toggling between two extremes. Each operation shifts probability, not certainty, and the way they combine can either reinforce or cancel each other out—much like the way waves interfere. Later, we’ll write a short Q# program so you can actually see this “dimmer” metaphor behave like a coin flip that refuses to fully commit until you measure it. So: syntax is readable; what changes is how you reason about state and measurement. Where classical debugging relies on printing values or tracing execution, quantum debugging faces its own twist—observing qubits collapses them, altering the very thing you’re trying to inspect. A for-loop or a conditional still works structurally, but its content may be evolving qubits in ways you can’t easily watch step by step. This is where developers start to realize the challenge isn’t memorizing a new language—it’s shifting their mental model of what “running” code actually means. That said, the barrier is lower than the hype suggests. You don’t need a physics degree or years of mathematics before you can write something functional. Q# is approachable exactly because it doesn’t bury you in new syntax. You can rely on familiar constructs—functions, operations, variables—and gradually build up the intuition for when the dimmer metaphor applies and when it breaks down. The real learning curve isn’t the grammar of the language, but the reasoning about probabilistic states, measurement, and interference. This framing changes how you think about errors too. They don’t come from missing punctuation or mistyped keywords. More often, they come from assumptions—for example, expecting qubits to behave deterministically when they fundamentally don’t. That shift is humbling at first, but it’s also encouraging. The tools to write quantum code are within your reach, even if the behavior behind them requires practice to understand. You can read Q# fluently in its surface form while still building intuition for the underlying mechanics. In practical terms, this means most developers won’t struggle with reading or writing their first quantum operations. The real obstacle shows up before you even get to execution—setting up the tools, simulators, and cloud connections in a way that everything communicates properly. And that setup step is where many people run into the first real friction, long before qubit probabilities enter the picture.
Your Quantum Playground: Setting Up Q# and Azure
So before you can experiment with Q# itself, you need a working playground. And in practice, that means setting up your environment with the right tools so your code can actually run, both locally and in the cloud with Azure Quantum. None of the syntax or concepts matter if the tooling refuses to cooperate, so let’s walk through what that setup really looks like. The foundation is Microsoft’s Quantum Development Kit, which installs through the .NET ecosystem. The safest approach is to make sure your .NET SDK is current, then install the QDK itself. I won’t give you version numbers here since they change often—just check the official documentation linked in the description for the exact commands for your operating system. Once installed, you create a new Q# project much like any other .NET project: one command and you’ve got a recognizable file tree ready to work with. From there, the natural choice is Visual Studio Code. You’ll want the Q# extension, which adds syntax highlighting, IntelliSense, and templates so the editor actually understands what you’re writing. Without it, everything looks like raw text and you keep second-guessing your own typing. Installing the extension is straightforward, but one common snag is forgetting to restart VS Code after adding it. That simple oversight leads to lots of “why isn’t this working” moments that fix themselves the second you relaunch the editor. Linking to Azure is the other half of the playground. Running locally is important to learn concepts, but if you want to submit jobs to real quantum hardware, you’ll need an Azure subscription with a Quantum workspace already provisioned. After that, authenticate with the Azure CLI, set your subscription, and point your local project at the workspace. It feels more like configuring a web app than like writing code, but it’s standard cloud plumbing. Again, the documentation in the description covers the exact CLI commands, so you can follow from your machine without worrying that something here is out of date. To make this all easier to digest, think of it like a short spoken checklist. Three things to prepare: one, keep your .NET SDK up to date. Two, install the Quantum Development Kit and add the Q# extension in VS Code. Three, create an Azure subscription with a Quantum workspace, then authenticate in the CLI so your project knows where to send jobs. That’s the big picture you need in your head before worrying about any code. For most people, the problems here aren’t exotic—they’re the same kinds of trip-ups you’ve dealt with in other projects. If you see compatibility errors, updating .NET usually fixes it. If VS Code isn’t recognizing your Q# project, restart after installing the extension. If you submit a job and nothing shows up, check that your workspace is actually linked to the project. Those three quick checks solve most of the early pain points. It’s worth stressing that none of this is quantum-specific frustration. It’s the normal environment setup work you’ve done in every language stack you’ve touched, whether setting up APIs or cloud apps. And it’s exactly why the steepest slope at the start isn’t about superposition or entanglement—it’s about making sure the tools talk to one another. Once they do, you’re pressing play on your code like you would anywhere else. To address another common concern—yes, in this video I’ll actually show the exact commands during the demo portion, so you’ll see them typed out step by step. And in the description, you’ll find verified links to Microsoft’s official instructions. That way, when you try it on your own machine, you’re not stuck second‑guessing whether the commands I used are still valid. The payoff here is a workspace that feels immediately comfortable. Your toolchain isn’t exotic—it’s VS Code, .NET, and Azure, all of which you’ve likely used in other contexts. The moment it all clicks together and you get that first job running, the mystique drops away. What you thought were complicated “quantum errors” were really just the same dependency or configuration problems you’ve been solving for years. With the environment in place, the real fun begins. Now that your project is ready to run code both locally and in the cloud, the next logical step is to see what a first quantum program actually looks like.
Writing Your First Quantum Program
So let’s get practical and talk about writing your very first quantum program in Q#. Think of this as the quantum version of “Hello World”—not text on a screen, but your first interaction with a qubit. In Q#, you don’t greet the world, you initialize and measure quantum state. And in this walkthrough, we’ll actually allocate a qubit, apply a Hadamard gate, measure it, and I’ll show you the run results on both the local simulator and quantum hardware so you can see the difference. The structure of this first Q# program looks surprisingly ordinary. You define an operation—Q#’s equivalent of a function—and from inside it, allocate a qubit. That qubit begins in a known classical state, zero. From there, you call an operation, usually the Hadamard, which places the qubit into a balanced superposition between zero and one. Finally, you measure. That last step collapses the quantum state into a definite classical bit you can return, log, or print. So the “Hello World” flow is simple: allocate, operate, measure. The code is only a few lines long, yet it represents quantum comp

